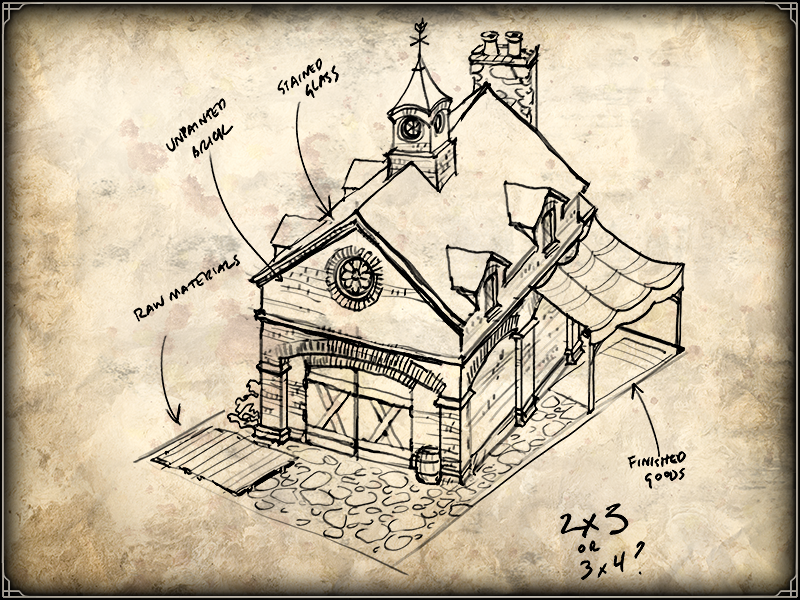
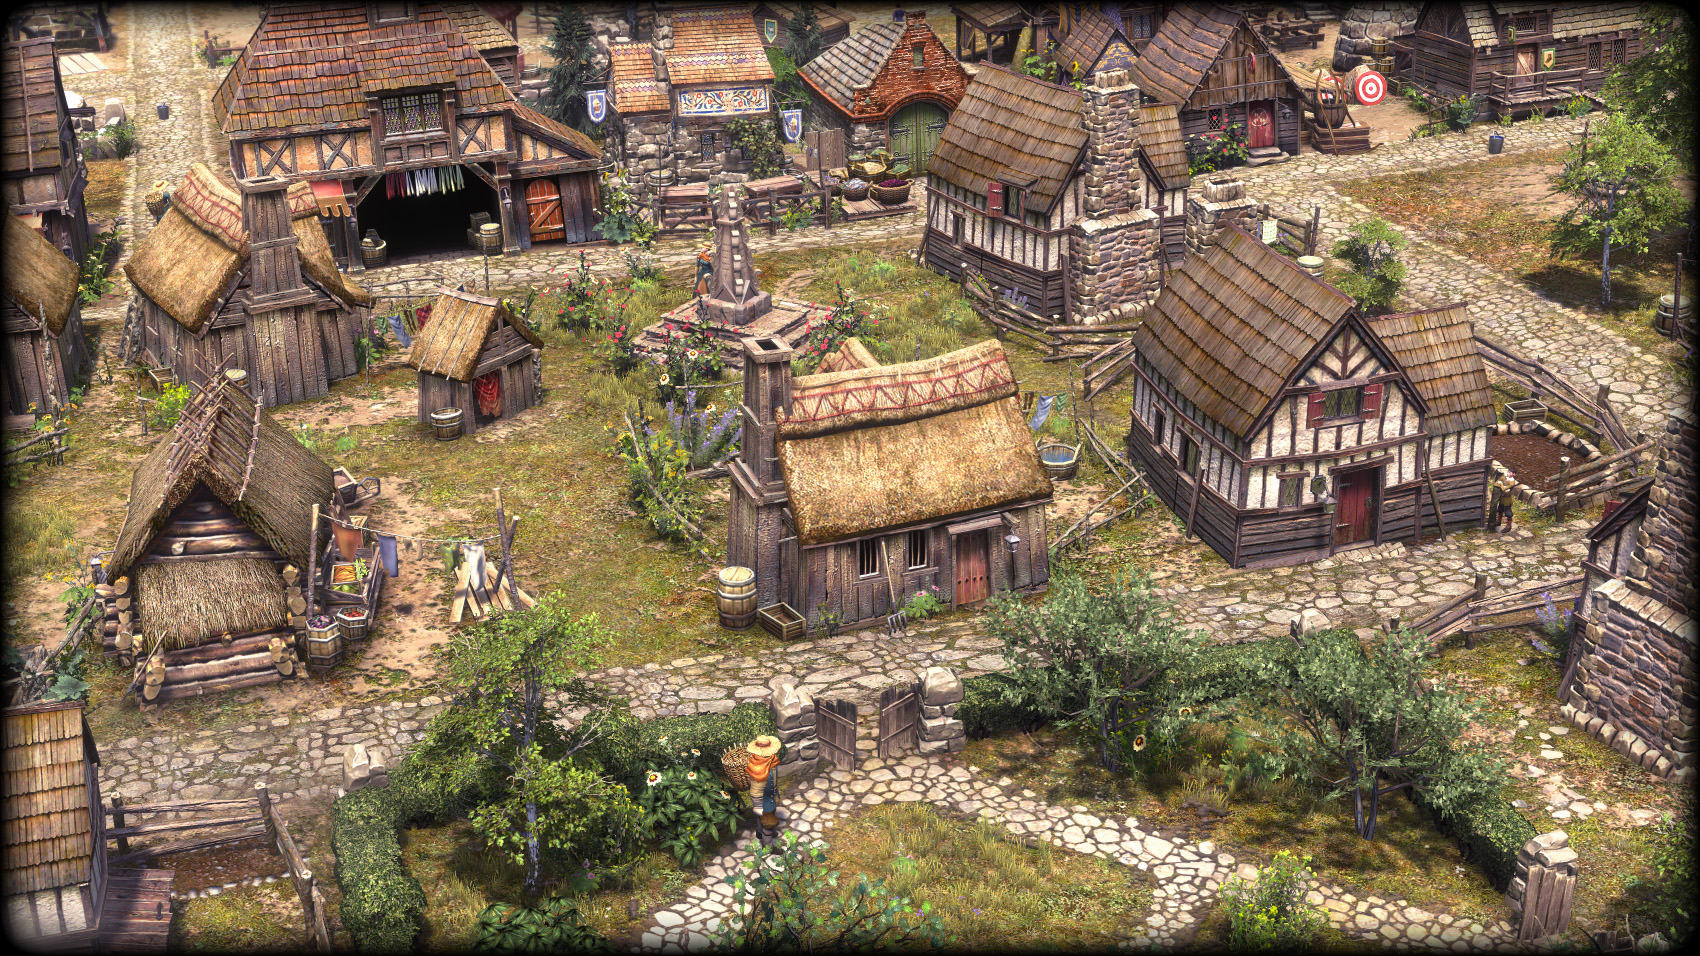
Buildings
Buildings in Farthest Frontier form the core of the gameplay. From the initial settling of the Town Center to every structure placed thereafter, your decisions will shape how your town grows.
Buildings offer valuable services, a place to live for villagers, or even act as decorations to beautify your town.
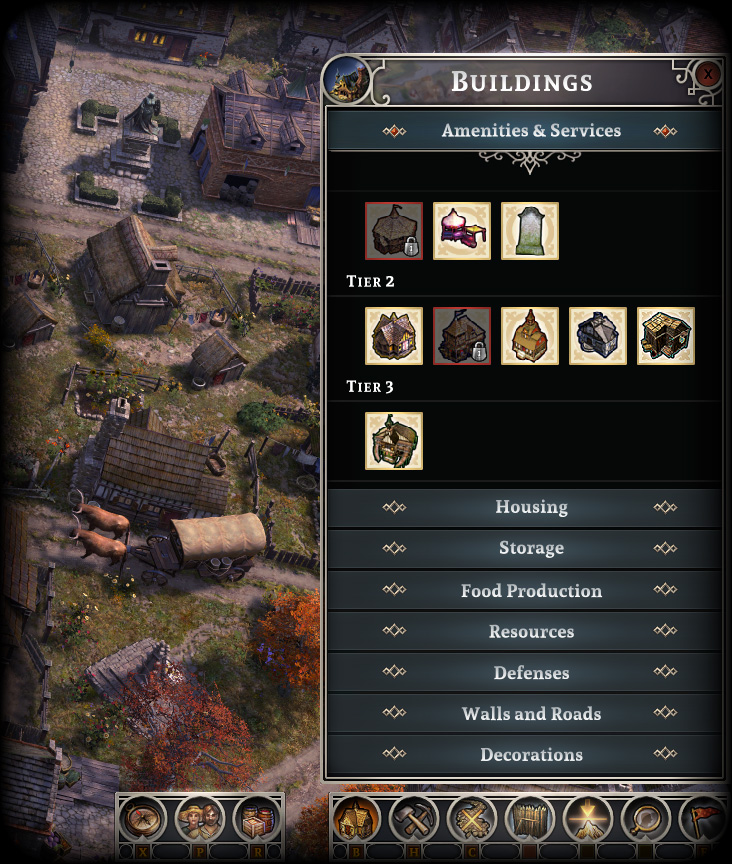
Build Menu
The Build menu (Default hotkey: B) is your window into growing your town. From here, you can select from every structure available in the game and then place it within the world.
Note that some structures are available for placement from the start of the game, while others have prerequisites which must be met before the structure can be placed. For example, many structures require you to upgrade your Town Center before they can be placed in your town, while others may require research in the Tech Tree. For more information on upgrades, see the Upgrading Buildings section.
The buildings are organized into categories, which you can learn more about below:
Service Buildings
Service buildings fulfill a number of important roles in your town. Here, you can find structures such as the Trading Post, which will form the backbone of your town’s economy, and a Healer’s Hut, which is critical in staving off diseases and helping soldiers injured in combat.
The unifying theme of structures in this category is that they all provide a major feature, or service, for the town. Some of these buildings have a gold upkeep to maintain their functionality.
Housing
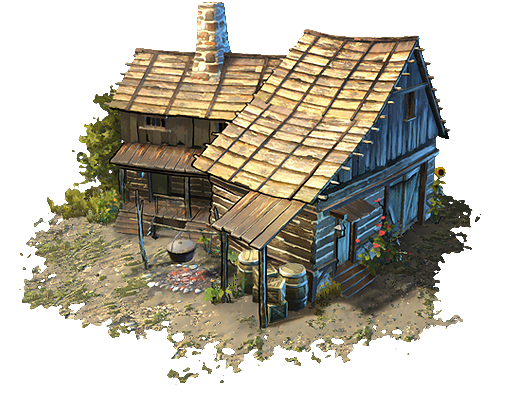
Housing buildings provide your villagers with a safe place to live and to seek shelter from the elements. As your town grows and prospers, you will notice the Shelters upgrading into finer and finer homes. Shelters, along with the Town Center, are the only structure in the game with multiple upgrade tiers.
A Temporary Shelter is, as the name implies, a temporary solution when a villager can’t reach their main home in time. These structures are best placed out on the outskirts of town, near remote production buildings such as Mines and Work Camps. Temporary Shelters can allow villagers working far from town to work longer thanks to easy access to shelter.
Storage

Storage buildings offer a means for the town to keep and preserve all of the resources and materials its people gather and produce. Without storage, goods would quickly go to waste out in the world and food would spoil rapidly.
The Storage category is also home to the Wagon Shop and Cooper. The Wagon Shop allows the town to manage wagons, which can transport large quantities of heavy goods more efficiently than villagers carrying them by hand. The Cooper produces Barrels, which help reduce spoilage in storage.
To learn more about storage and resources, stop by the Resources page.
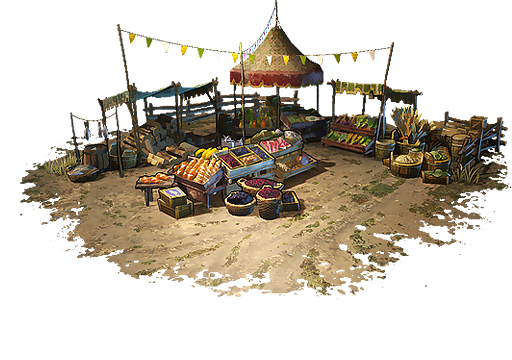
Food Production
Without food, villagers will inevitably starve and the town will become deserted. Food production is a core mechanic in Farthest Frontier and properly managing food supplies determines the fate of every town.
From humbly gathering berries out in the woods to domesticating cattle, there are many ways to produce food for your people and provide them with a varied diet. All of these options are available in this category.
To learn more about food, stop by the Food page.
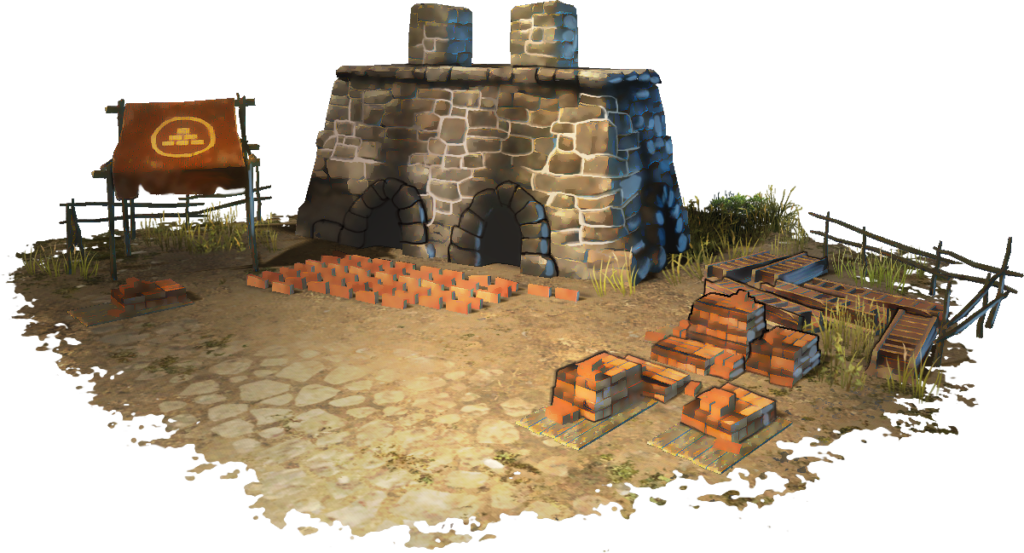
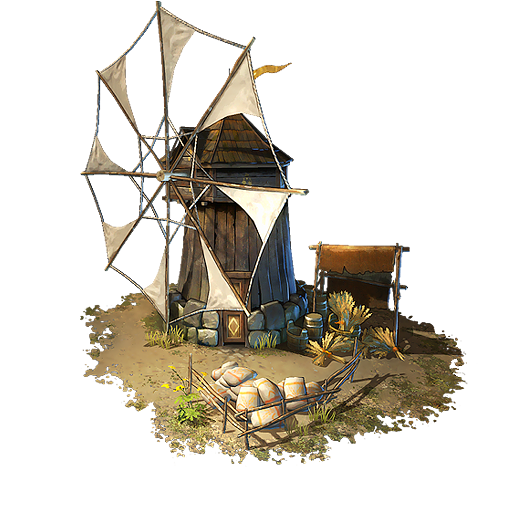
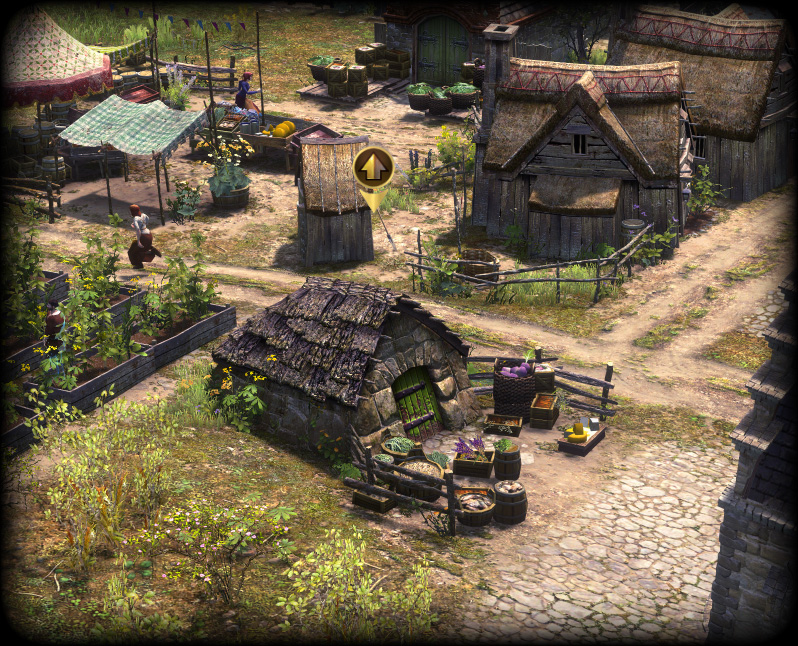
Resources
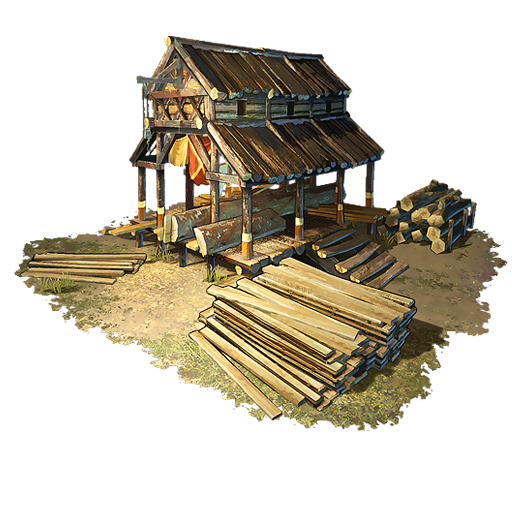
The Resources category offers a wide range of options to grow your town’s economy and provide for your people. When you first start out, you will have access to a well and a firewood splitter, both important structures, but your options quickly expand from there.
Fletchers turn logs into bows and arrows, both for hunting and protecting the town. Cobblers turn hides into shoes, preventing painful foot injuries. Chandlers melt wax into candles, a luxury in the frontier that the people will greatly appreciate. Blacksmiths turn Iron into tools, but they can also put their hammers to use in creating weapons.
All of this, and more, is available in the Resources category.
Defenses
Depending on the difficulty you choose to play on, Farthest Frontier can be a relatively tranquil place, or one fraught with dangers. If you are not playing on pacifist difficulty, you will have to contend with external threats.
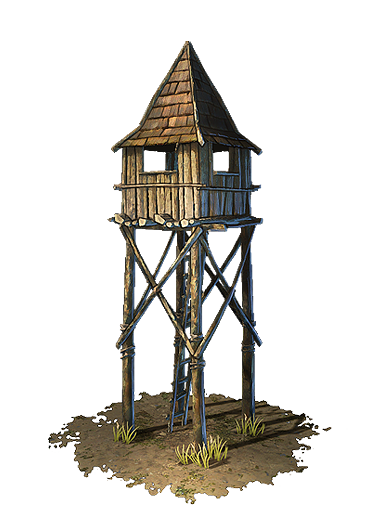
Animal attacks occur regularly out in the wilderness. Wolves and bears roam about looking for food and can be attracted to the town’s supplies. Boars, when agitated, can lay low even skilled hunters. A Lookout Tower can keep workers safe, especially out on the fringes of town.
Even more dangerous than animals are the raiders eager to take advantage of a small hamlet secluded in the wilderness. Without proper preparations, these brigands can slaughter your people, topple your buildings, and make off with your town’s valuable resources.
Thankfully, your town has several options to defend itself. While Lookout Towers are the first line of defense, a Barracks can be used to draft villagers into a well-trained army.
To learn more about raiders and optional combat in Farthest Frontier, stop by the Combat page.
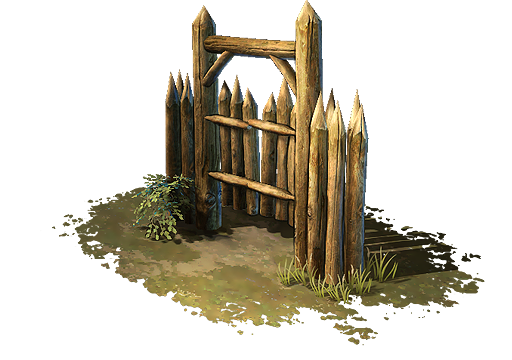
Walls and Roads
A clear symbol of civilization, roads define how your people move about the frontier. Well-tread paths make travel faster and deliveries more efficient. Cobbled roads ensure even footing, making movement even faster.
Where roads define where to go, walls and gates offer security and bar access. Walling off precious storage, or even the entire town with enough effort and resources, is a big step towards securing your people’s safety in the frontier.
While raiders can and will break through walls and gates, they can afford your people enough time to seek safety, your troops to mobilize, or your towers to pick off the threats before anyone gets hurt.
Decoration
Decorations in Farthest Frontier are more than just cosmetic features to beautify your town. While they can absolutely visually elevate a humble village just starting out in the wilderness into a thriving metropolis, decorations also contribute to an important feature that acts as a measure of the prosperity of your people: desirability.
Villagers living in desirable areas will eventually upgrade their homes, which is not only an indicator of just how far your town has come from its modest beginnings, but also generates tax revenue from wealthier citizens. To learn more about this mechanic, stop by the Desirability page.
Select from parks, plazas, statues, and more as you leave your mark on the frontier.
Building Placement
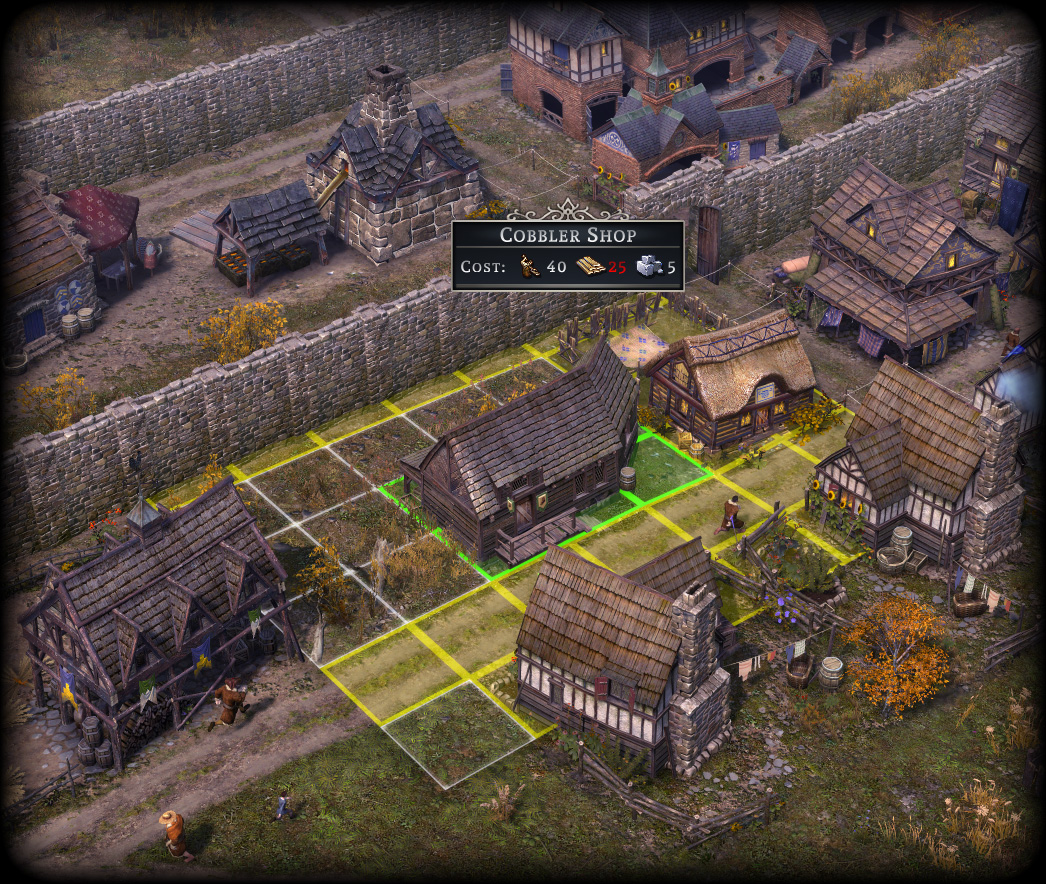
Once you select a structure, you will be shown a placement preview along with the building grid. You can rotate the structure by pressing Tab, the default key. Once you are satisfied with the location, left-click to confirm. Note that some buildings have arrows indicating their facing. Facing a building towards a road is not critical to a building’s functionality or villagers’ ability to access it but can be helpful for aesthetic reasons.
If for any reason you change your mind, you can select the resulting build site and cancel it before construction is completed. Likewise, you can select an existing structure and press the relocate button in its UI.
Once a build site is placed, villagers will get to work depositing the necessary resources. When that is done, builders will perform the construction and a new building will be finished.
Note that some terrain may be too steep for structures to be placed. In that case, you can use the Flatten Tool. To learn more about terrain flattering, see the Basics page. Structures cannot be placed on water under any circumstances.
Building UI
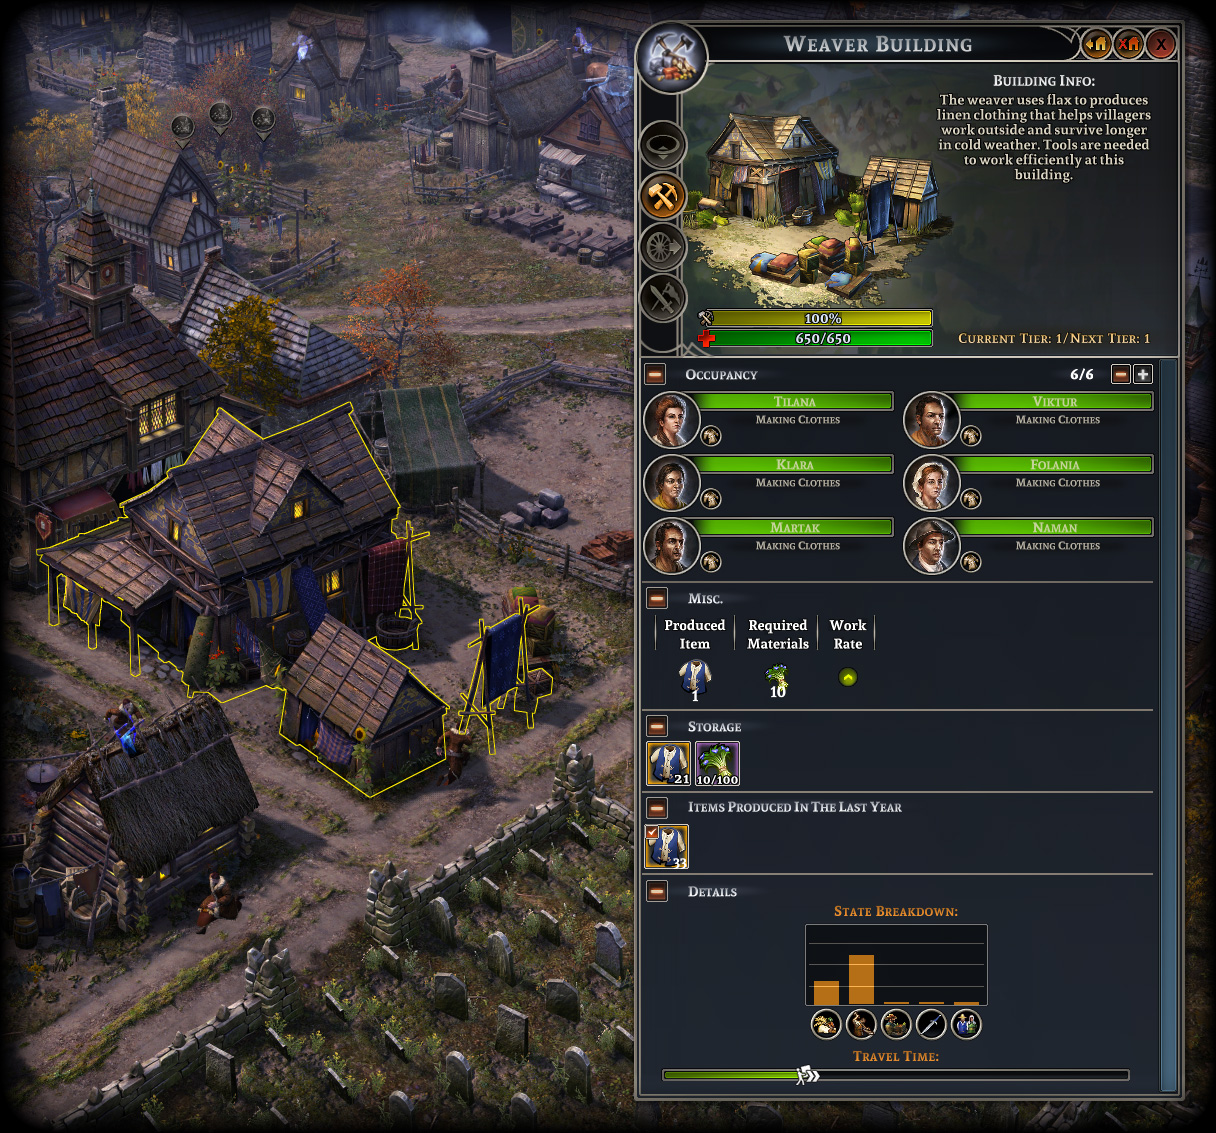
For more information on a building, select it with Left-click on the mouse; this opens its UI. From here, you can control the functionality of the selected structure, such as setting worker slots, adjusting its work area, or setting production priorities. From the top right of the UI, you can relocate a building ![]() , salvage a building
, salvage a building ![]() , or close the window
, or close the window ![]() . Relocating a building is free, apart from some labor. Salvaging a structure returns 50% of the materials used to construct it.
. Relocating a building is free, apart from some labor. Salvaging a structure returns 50% of the materials used to construct it.
Setting Work Area

Some buildings have a work area in order to function. This circle defines where villagers will seek resources in the world. For example, a Hunter Cabin’s work area defines where a hunter will go to seek out game to hunt. A Fishing Shack’s work area defines what coastline a fisherman will fish from.
By default, a work area is centered on the structure. This is likely not the best setup though and you may want to relocate it. To do so, Left-Click the Work Area button ![]() and then move the cursor to the desired location. The tooltip will give you insight into the resources within the work area before you confirm placement.
and then move the cursor to the desired location. The tooltip will give you insight into the resources within the work area before you confirm placement.
Setting work areas properly can help improve the efficiency of a building.
Work Slots
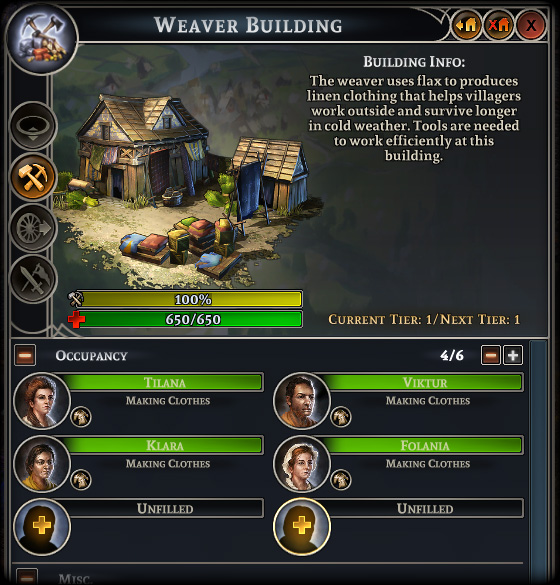
Production buildings have anywhere from one to six work slots. Depending on your town’s needs, available resources, and population, you can control how many workers will work at a building using the ![]() and
and ![]() buttons at the top of the Occupancy section.
buttons at the top of the Occupancy section.
If you open up more slots than there is available laborers, you may notice that some remain unfilled.
You can also control how many laborers perform a particular role from the Professions UI. To learn more about that menu, stop by the Population page.
Production
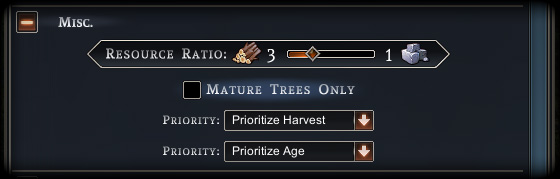
Some buildings can collect or produce multiple materials. Using production ratios, you can adjust their priority.
At a Work Camp, the production slider controls the ratio between harvesting wood and stone. It is possible to set this slider all the way to the left or right to have the Work Camp focus exclusively on one resource.
A Blacksmith’s Forge can produce tools and weapons. The relative ratios of these goods determines how the villagers will focus their time and resources. Setting a slider all the way to the left sets that product to 0, disabling its production entirely.
Upgrading Buildings
Many buildings in Farthest Frontier can be upgraded once certain prerequisites are met. These upgrades can improve everything from work efficiency to durability and storage capacity. What benefits a building gets from upgrading is dependent on the building.
Requirements
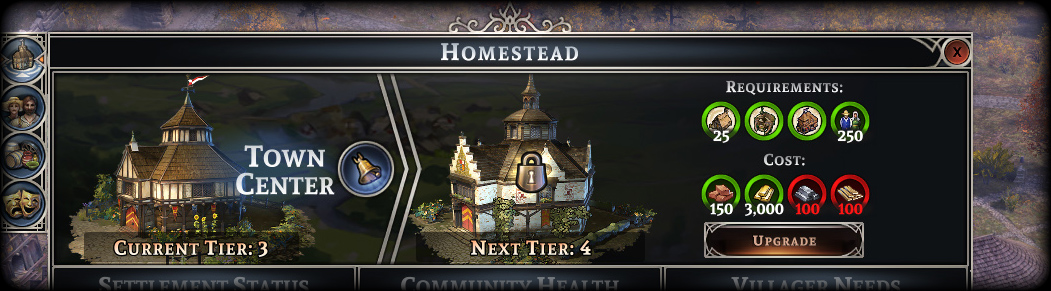
Before a building can be upgraded, the town must meet the upgrade requirements. In most cases, this means that certain other structures must first be placed, or a technology in the Tech Tree must be researched.
A common requirement for many building upgrades is the tier of the Town Center ![]() . Homes have additional requirements to upgrade, demanding ever higher desirability
. Homes have additional requirements to upgrade, demanding ever higher desirability ![]() and different food / luxury goods
and different food / luxury goods ![]() .
.
The Town Center itself needs to be upgraded to higher tiers in order for the town to progress. In order to do so, certain structures ![]() must be built and population thresholds reached
must be built and population thresholds reached ![]() .
.
In addition to the requirements, the necessary upgrade costs must be available in storage. When both prerequisites are met, the Upgrade button becomes available.
By default, shelters will automatically upgrade when the requirements are met and resources are available. If you wish to preserve resources, you can toggle this behavior off on the top right of the screen, using the designated button ![]() . When toggled off, shelters will not upgrade.
. When toggled off, shelters will not upgrade.
Bonuses
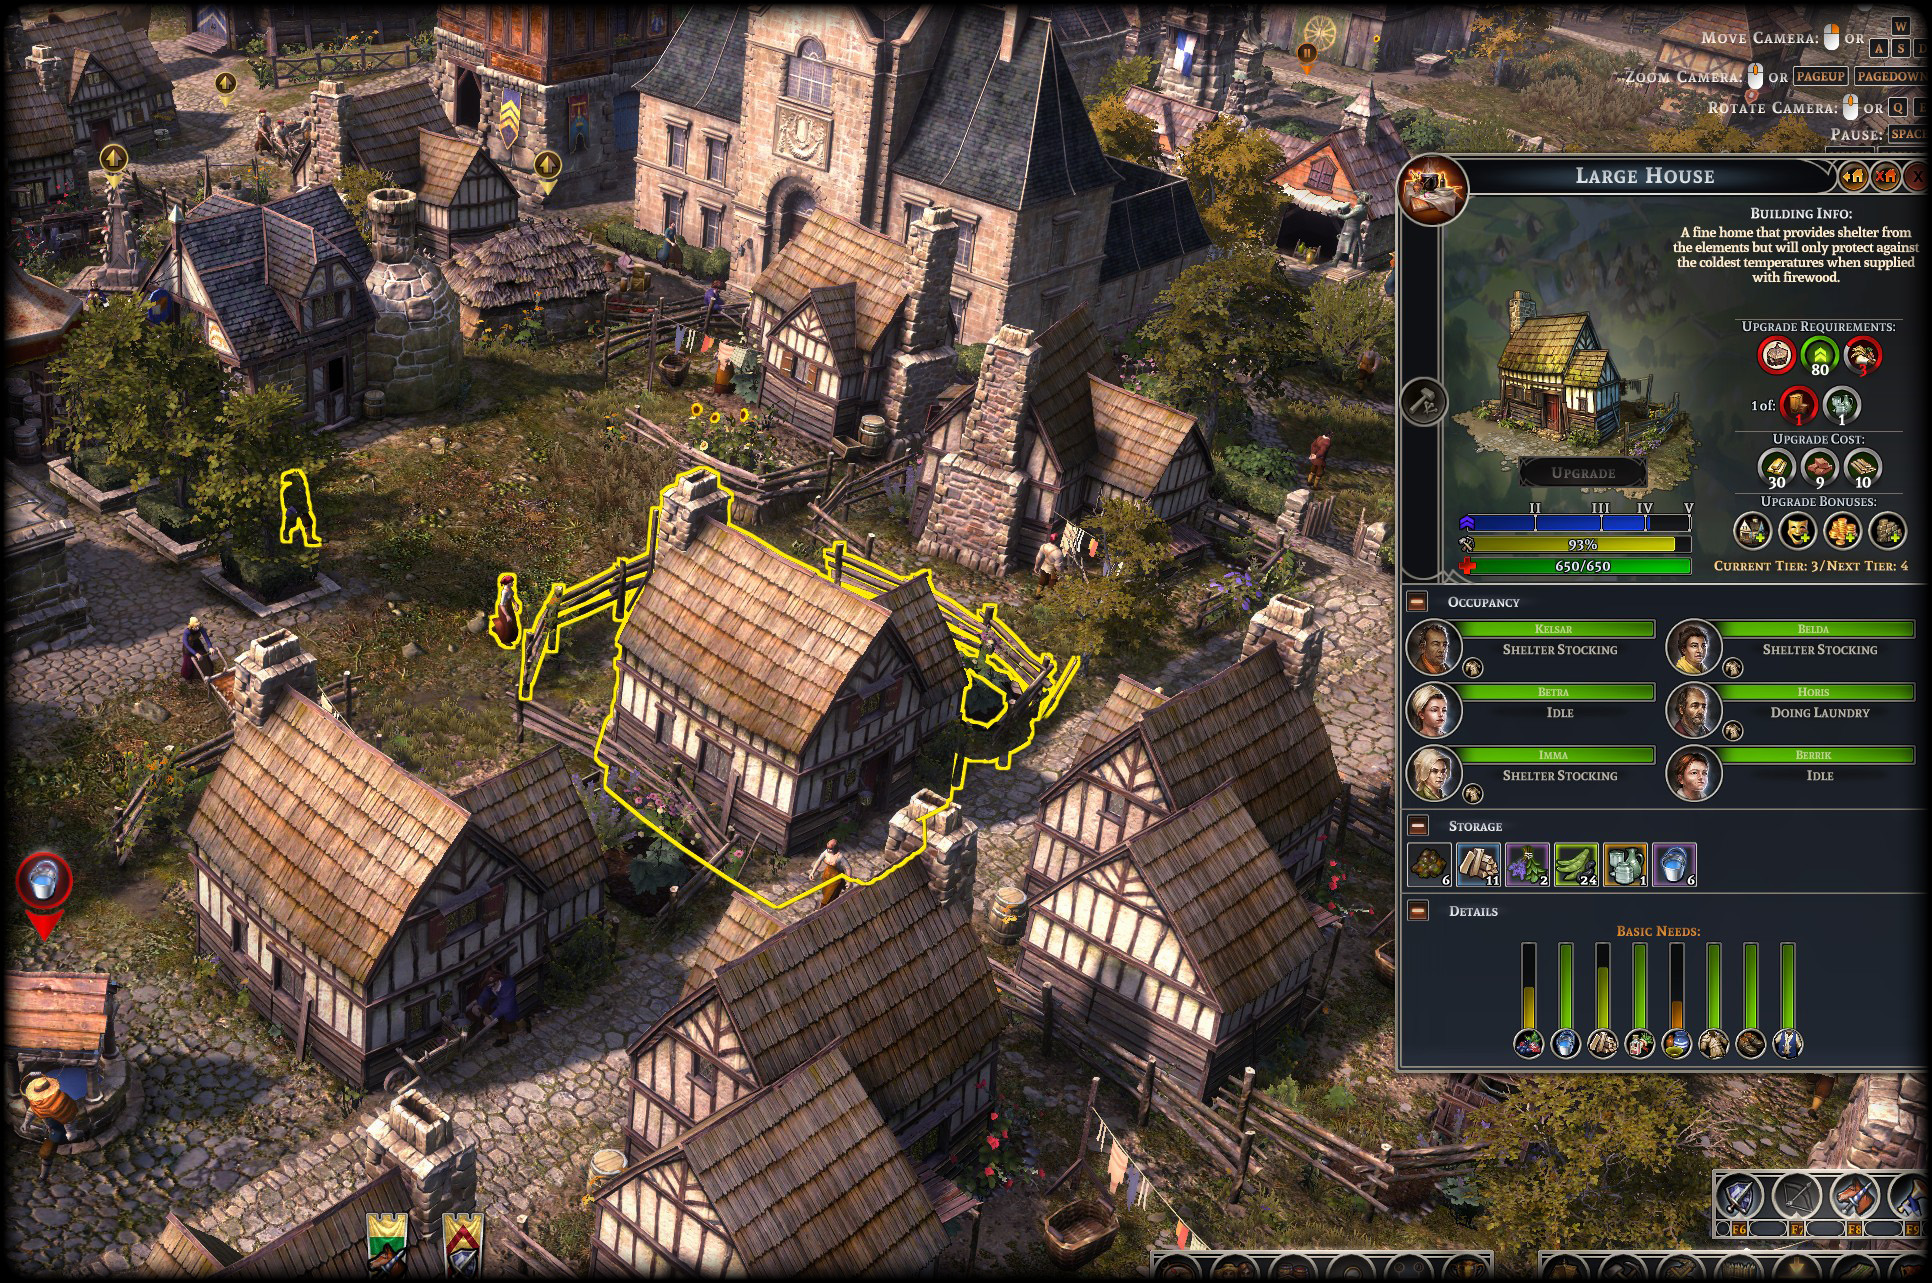
Once an upgrade is initiated, the building will be covered by a build site. It is still possible to cancel an upgrade at this time by cancelling the build site. This does not destroy the original building.
When the upgrade construction is finished, the structure will be updated visually and have all of the upgrade bonuses listed on the UI.


Upgrading buildings is a costly endeavor, but always worthwhile. Upgraded buildings have improved features and often have increased durability, which makes them more likely to withstand raider attacks.
An upgraded tower has greater range and deals more damage, a valuable asset when faced with more heavily armored raiders later in the game.
An upgraded Firewood Splitter processed logs faster, helping growing towns generate enough firewood for their industry, and to last through the winter.
An upgraded Hunter’s Cabin can produce traps, which are used to capture small game for additional hide production.
Shelters can upgrade multiple times, generating monthly tax revenue and increased occupancy. They are a symbol of your population’s growing prosperity.
Structural Integrity
Over time, building materials wear out and must be replaced. This phenomenon becomes more pronounced during extreme weather, such as winter storms or freezing rain.
Inevitably, the structural integrity of a building becomes dangerously low and maintenance must be performed. This process requires some of the same resources required to construct the building in the first place.
Once materials are supplied, builders automatically take care of maintenance requests without any input necessary. As such, it is important to expand your builder pool as your town grows.
If structural integrity is allowed to go to 0, either because no builders or resources are available to repair, the building will become condemned and will no longer function. In time, the condemned structure will collapse completely and become rubble that must be rebuilt in order for the building to function again.
 Resources