Combat
The journey into the frontier was dangerous in itself. Many had died along the way. The reward for this brutal expedition was further hardship, but nevertheless your people thrived against the ravages of nature.
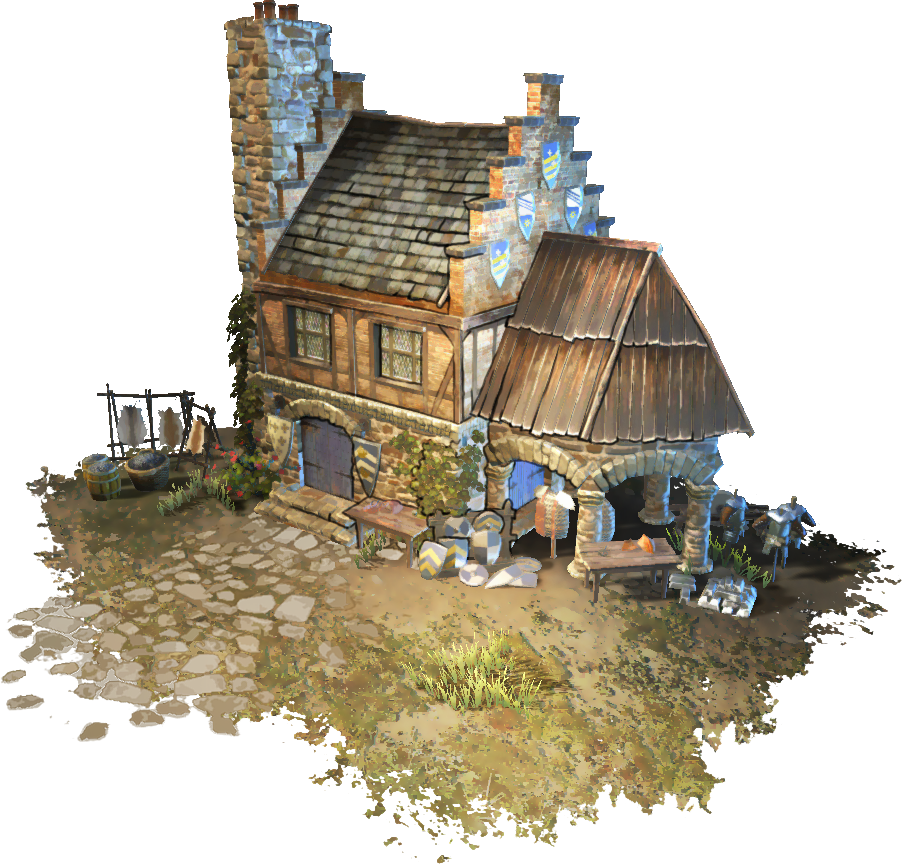
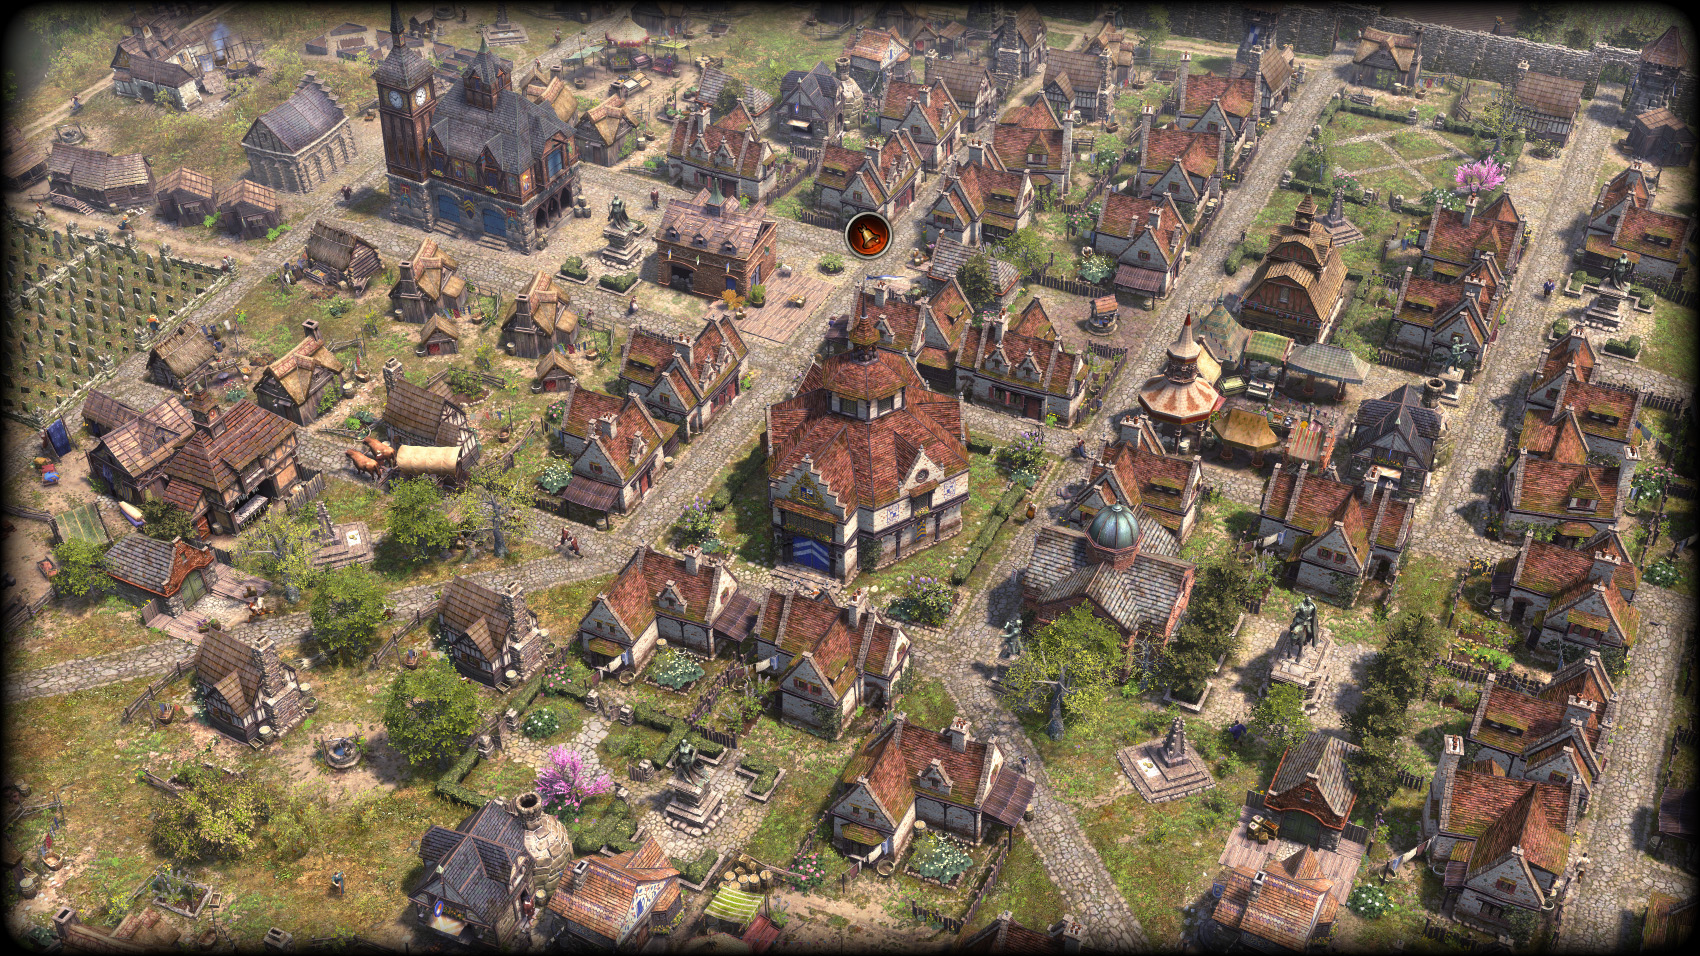
A prosperous new town was erected in the farthest reaches of the wilderness. Before long, others have made notice of your achievements. Wealthy merchants have arrived bearing goods and seeking to trade. Immigrants made the journey as well, seeking opportunities in the frontier.
But not all have come bearing good intentions. Raiders, bloodthirsty bandits and thieves, see the growing town as an opportunity to profit, and they will take what your people have harvested and produced, by force if needed. Stand guard, and ready your defenses!
(Note that combat is an optional mechanic in Farthest Frontier and can be toggled off at town creation, if you wish to play peacefully.)
Enemies
Wildlife
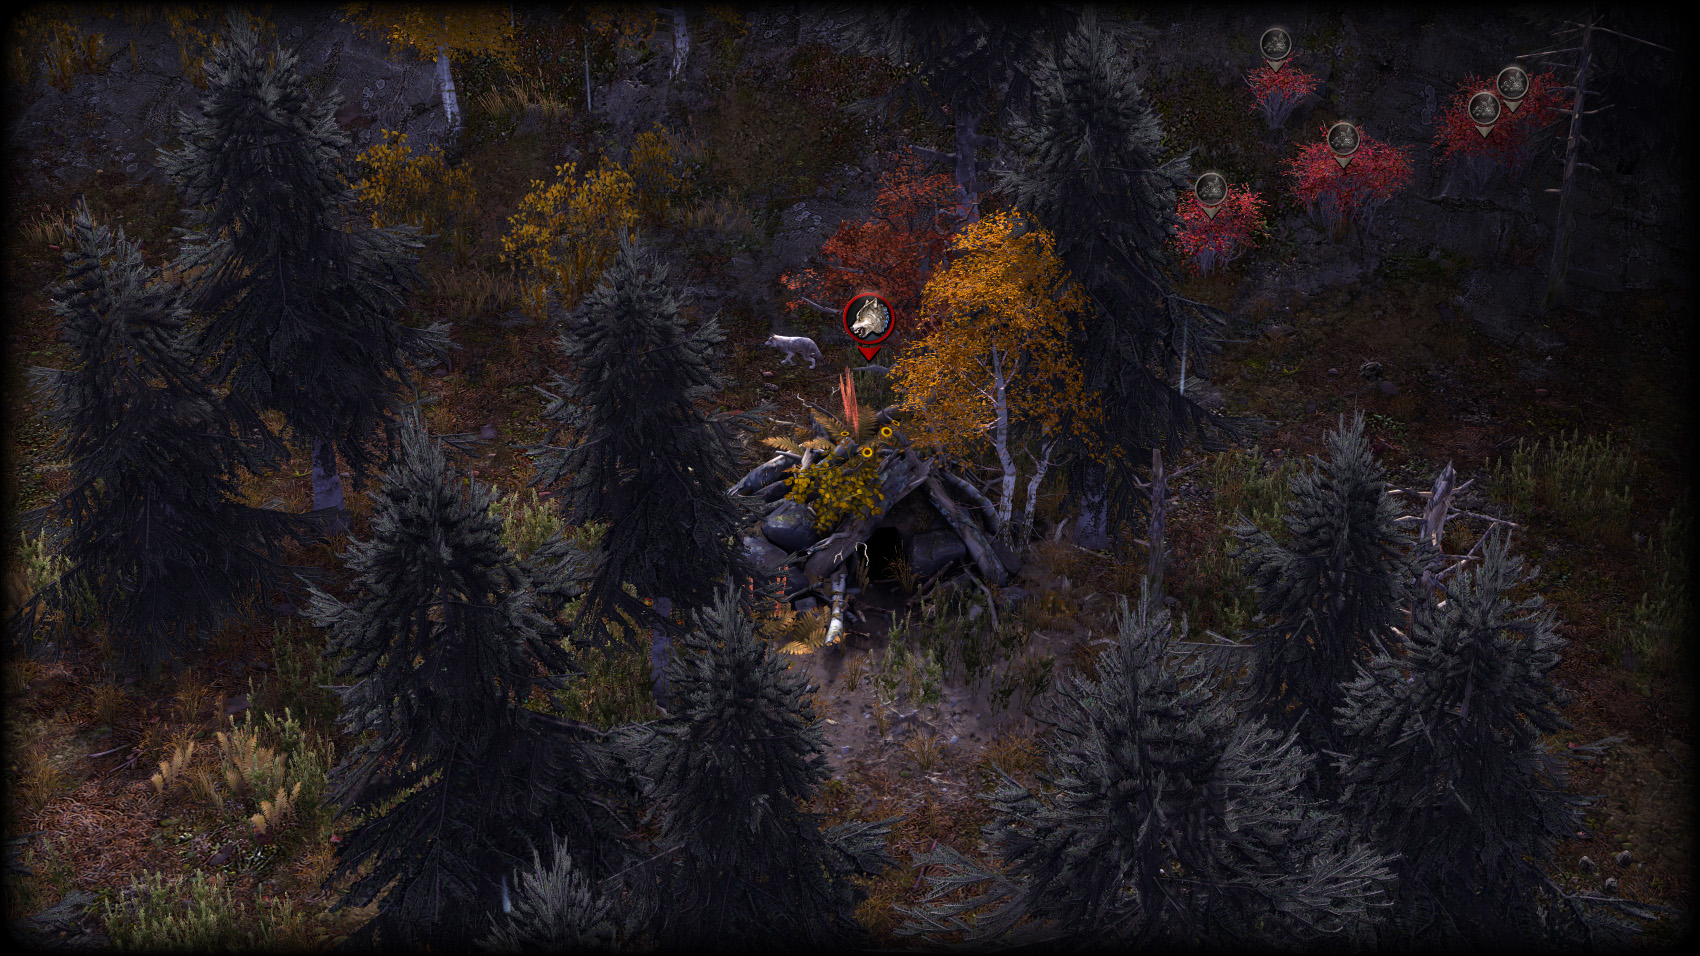
Long before your people settled in the frontier, it was the domain of animals, and that is a relationship that must be respected.
Wolves roam around their dens looking for food and will attack villagers that come too close. Unfortunate survivors of wolf bites can also contract rabies, which is almost always lethal. Grazing livestock make easy prey and will get attacked if not protected or fenced off.
Equipping your people with Hide Coats can reduce the risk of contracting rabies. Likewise, hunters are much better equipped to handle wolves than villagers as they can take them on at range using bows.
Bears are naturally curious animals that will rummage through homes and stores looking for food. They are very dangerous if provoked and can be a threat to livestock.
Boars are territorial beasts and will attack villagers that come too close. Boars are not always aggressive and can even become spooked by approaching villagers, but a charging boar can be difficult to take down.
Hunters will not engage boars on their own unless threatened, but can be directed to attack them should you choose. They will have better chances of success if they team up with other hunters.
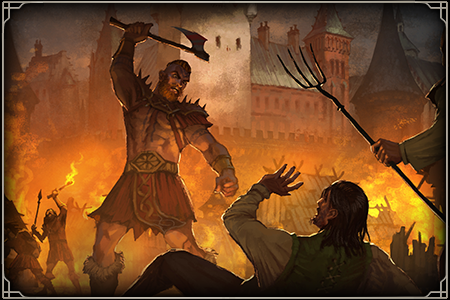
Raiders
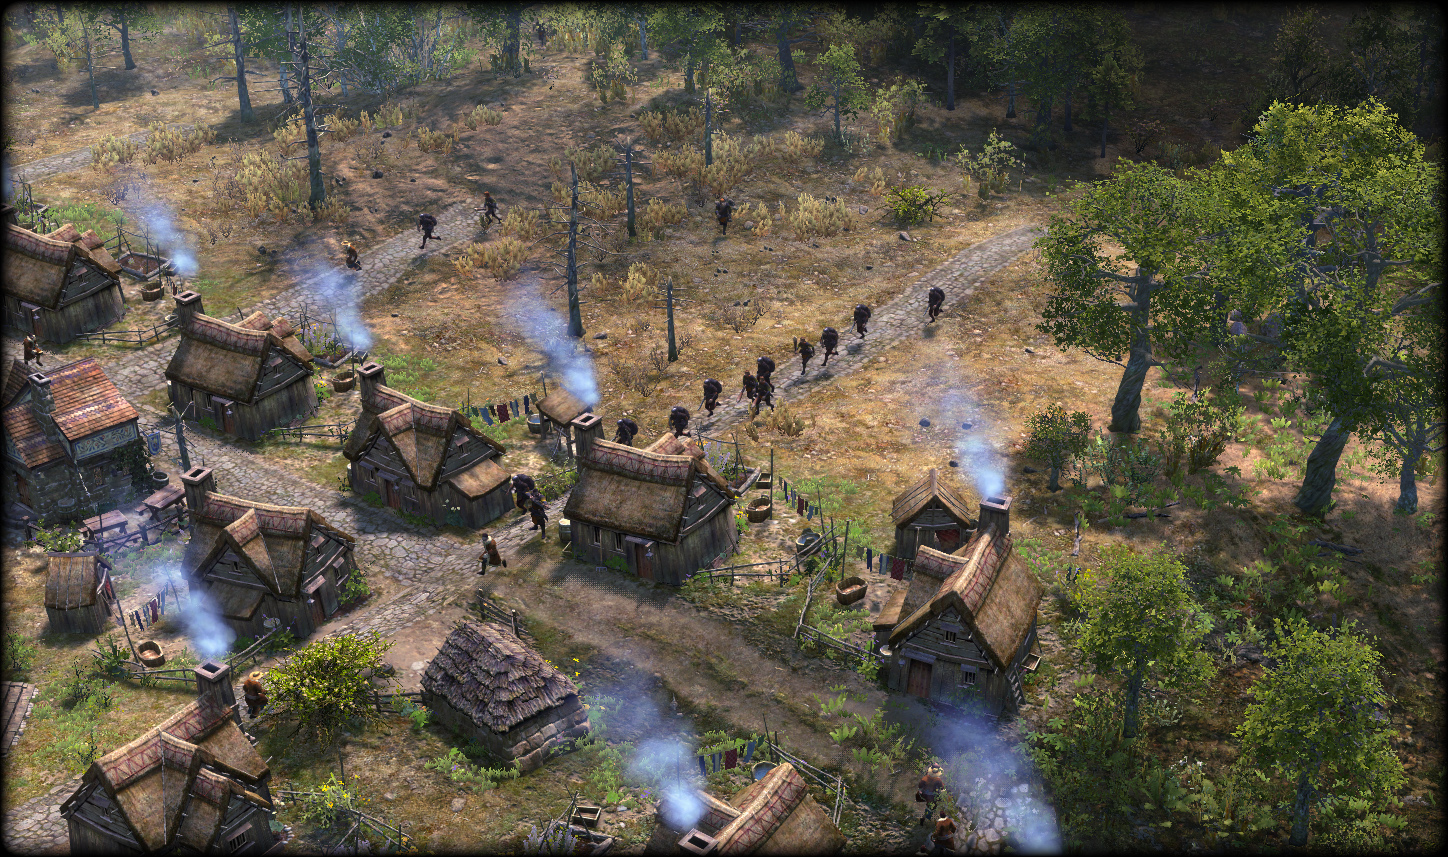
As your town grows, it will inevitably attract the attention of raiders. These groups of thieves and barbarians come seeking what your town has produced, and they are willing to take it by force.
When raiders attack, villagers will flee for their lives. Any unfortunate enough to be caught in the wake of the attack will likely be slaughtered. Because of this, raids are particularly dangerous for those villagers working far from the town as they may not have sufficient time to escape.
At first, raider assaults will not be significant threats, but as the town grows larger, so too will the raids. In time, raiders will employ better weapons and armor, and may even resort to using siege weapons. Do not take this threat lightly.
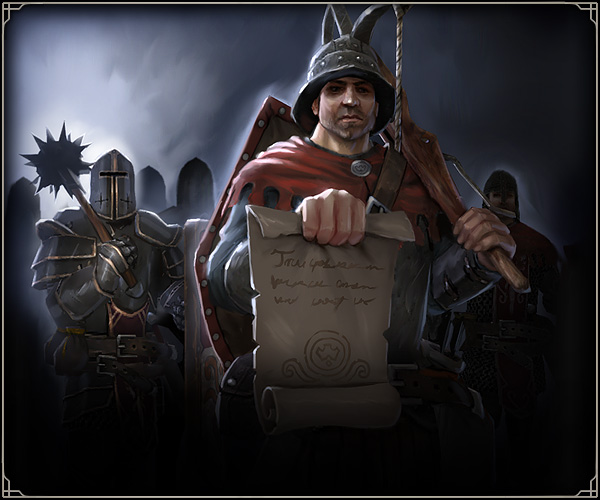
Some raiding groups are more organized and will offer the town an ultimatum before attacking: give up your gold and live, or pay with blood. You will have the choice of paying the extortionate bribe, or face the mercenaries on the battlefield. A well-prepared town may fend off these well-armed invaders, but the cost in lives may be significant.
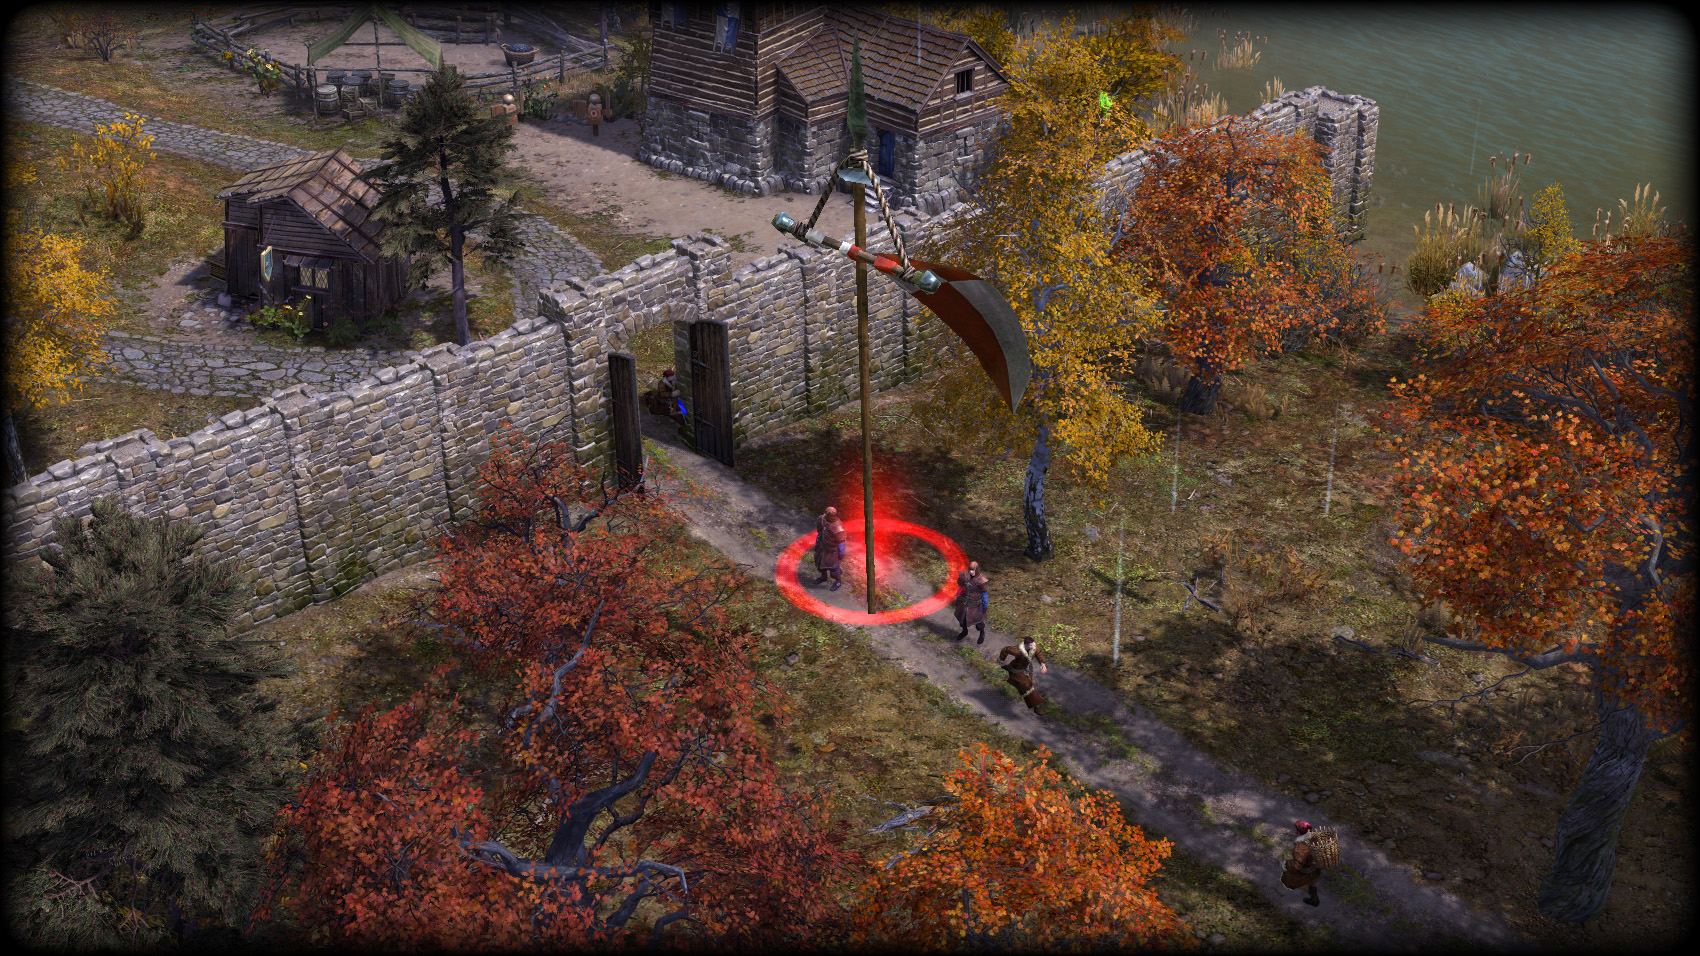
Raider Camps
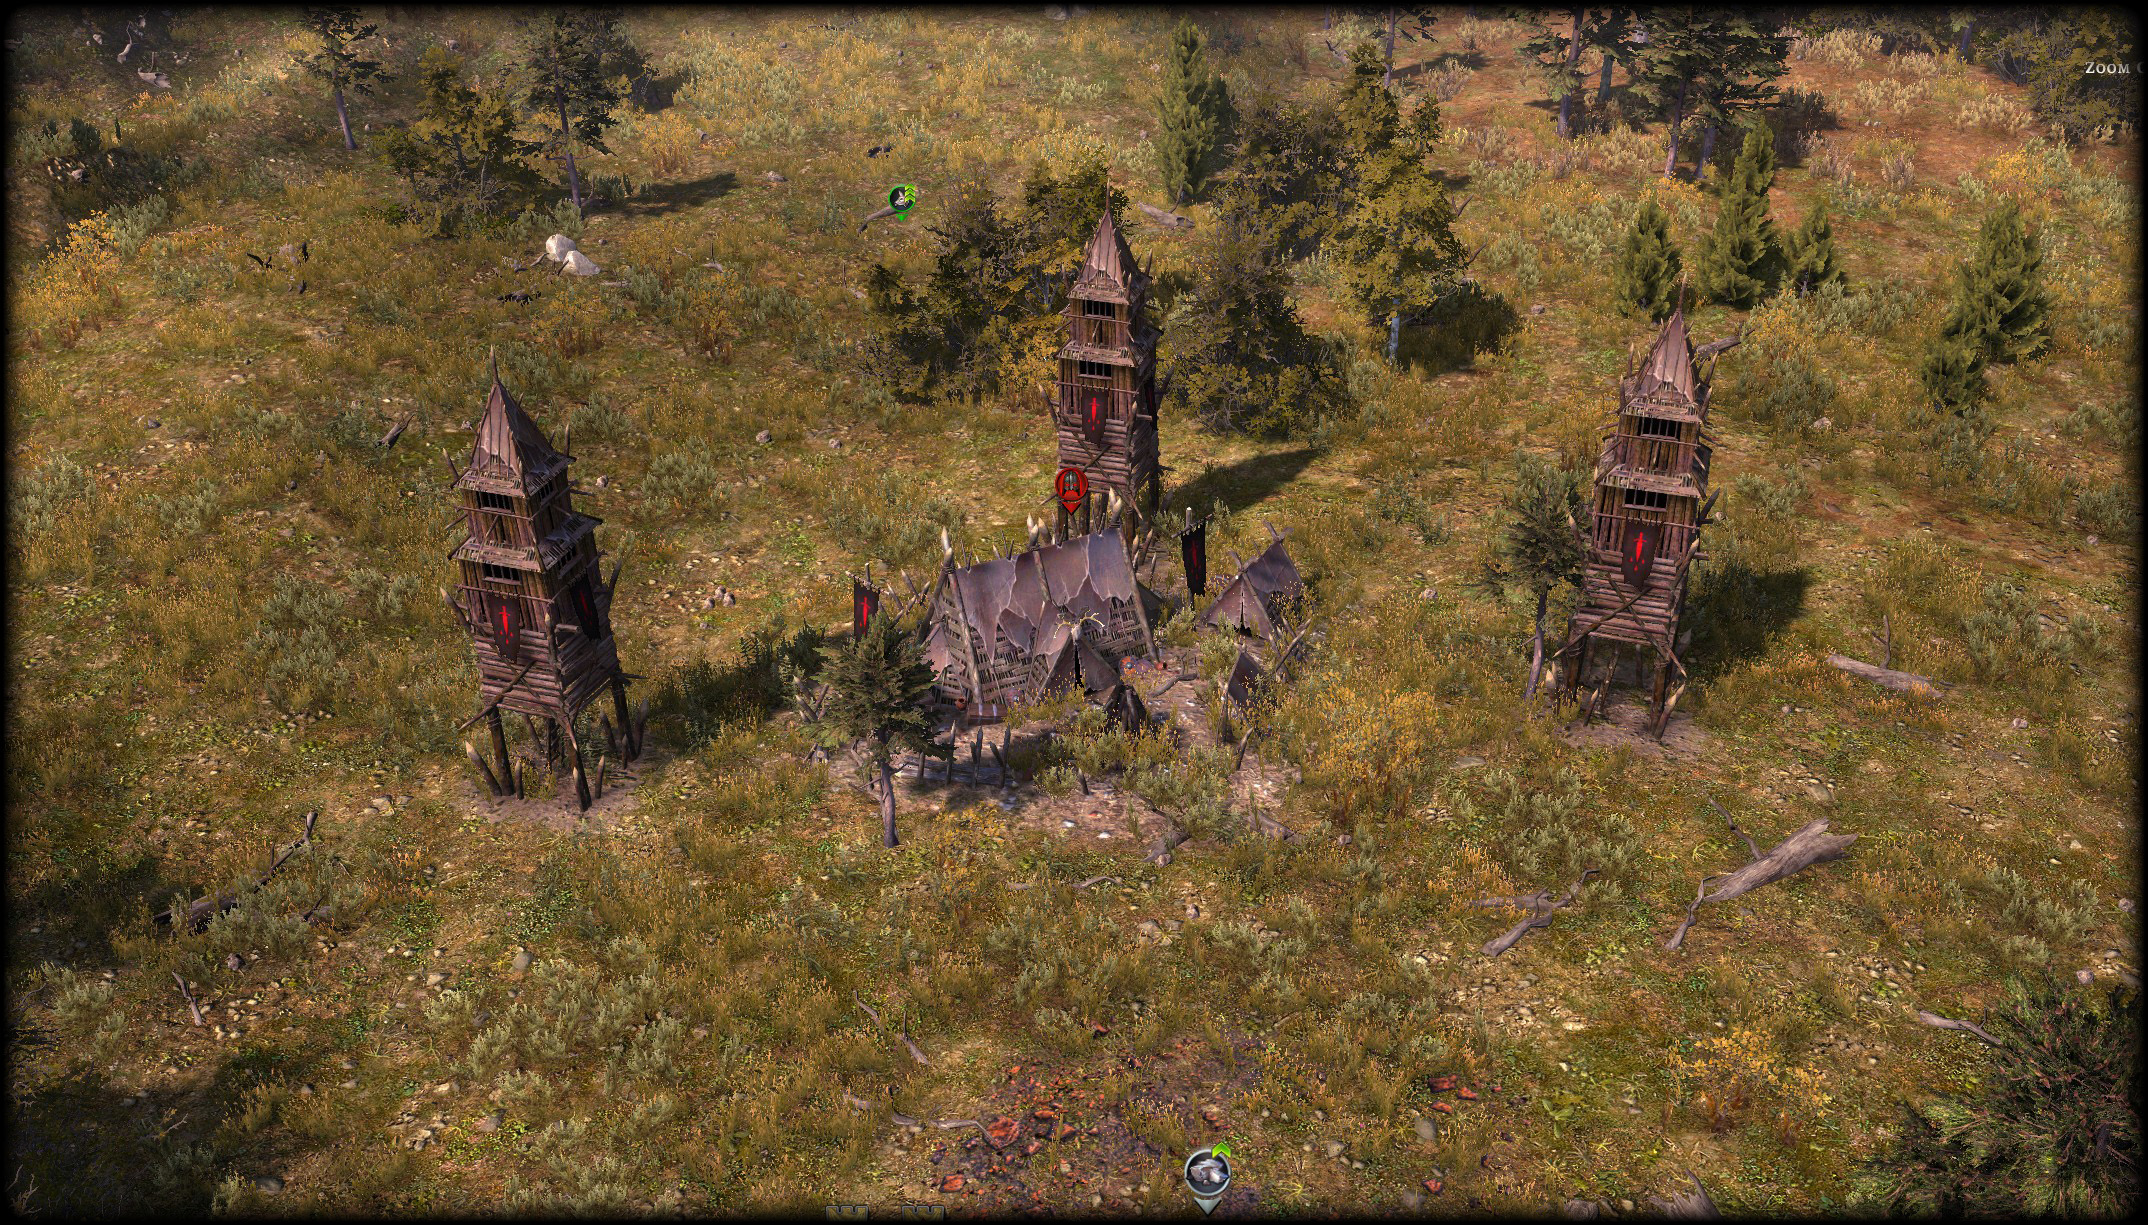
As you explore the surrounding lands, you may discover that the raiders that have been assaulting your people have entrenched themselves in the area. These well defended camps present an immediate danger to villagers gathering resources and may prevent you from expanding to lucrative territory.
Raider camps are always surrounded by towers, which will attack nearby threats. You will have to wipe the camp out entirely to make the area safe.
Each raider camp you destroy yields valuable resources, and can even hold powerful relics for your Temple. In addition, destroying a raider camp will delay the next raid on your settlement by up to 12 months.
Commanding Villagers
While villagers are ready to defend themselves, there may come a time when you need to coordinate the defense efforts more directly. This is possible by drag selecting villagers with holding and then releasing Left-click. Anyone that has played an real-time strategy (RTS) game in the past should be very familiar with this mechanic.

Once selected, Right-click will order the villagers to move to a position or, if clicking on an enemy, to attack a target. Villagers will remain in a target location for a few seconds, awaiting threats or new orders. When attacking, villagers will stick to the intended target until it, or they, perish.
This method of control also works with guards and soldiers recruited at towers or at a barracks, respectively. Unlike villagers, who may retreat after their initial target is slain, soldiers will seek out new threats nearby.
Advanced Controls
By default, when you Right-click to order your units, they will move to the destination and ignore all threats along the way. This can be beneficial if you want to make sure your soldiers get where you need them to be without distractions, or to issue a retreat, but sometimes you may want your soldiers to engage with all threats to keep your settlement safe. For that, you can issue an attack-move. By default, pressing [Alt] + Right-click will cause your units to not only move to the desired destination, but engage with all enemies they encounter.
Beyond issuing basic move and attack commands, you can also control your military units by placing them into control groups. You can do so by selecting several units, then binding them to a hotkey. By default, pressing [Ctrl] + # (ex. 1) will store the selected units to that number. Then, pressing the corresponding number will select all of the same units again in an instant. Pressing the same number twice in rapid succession will center the camera on the selected units.
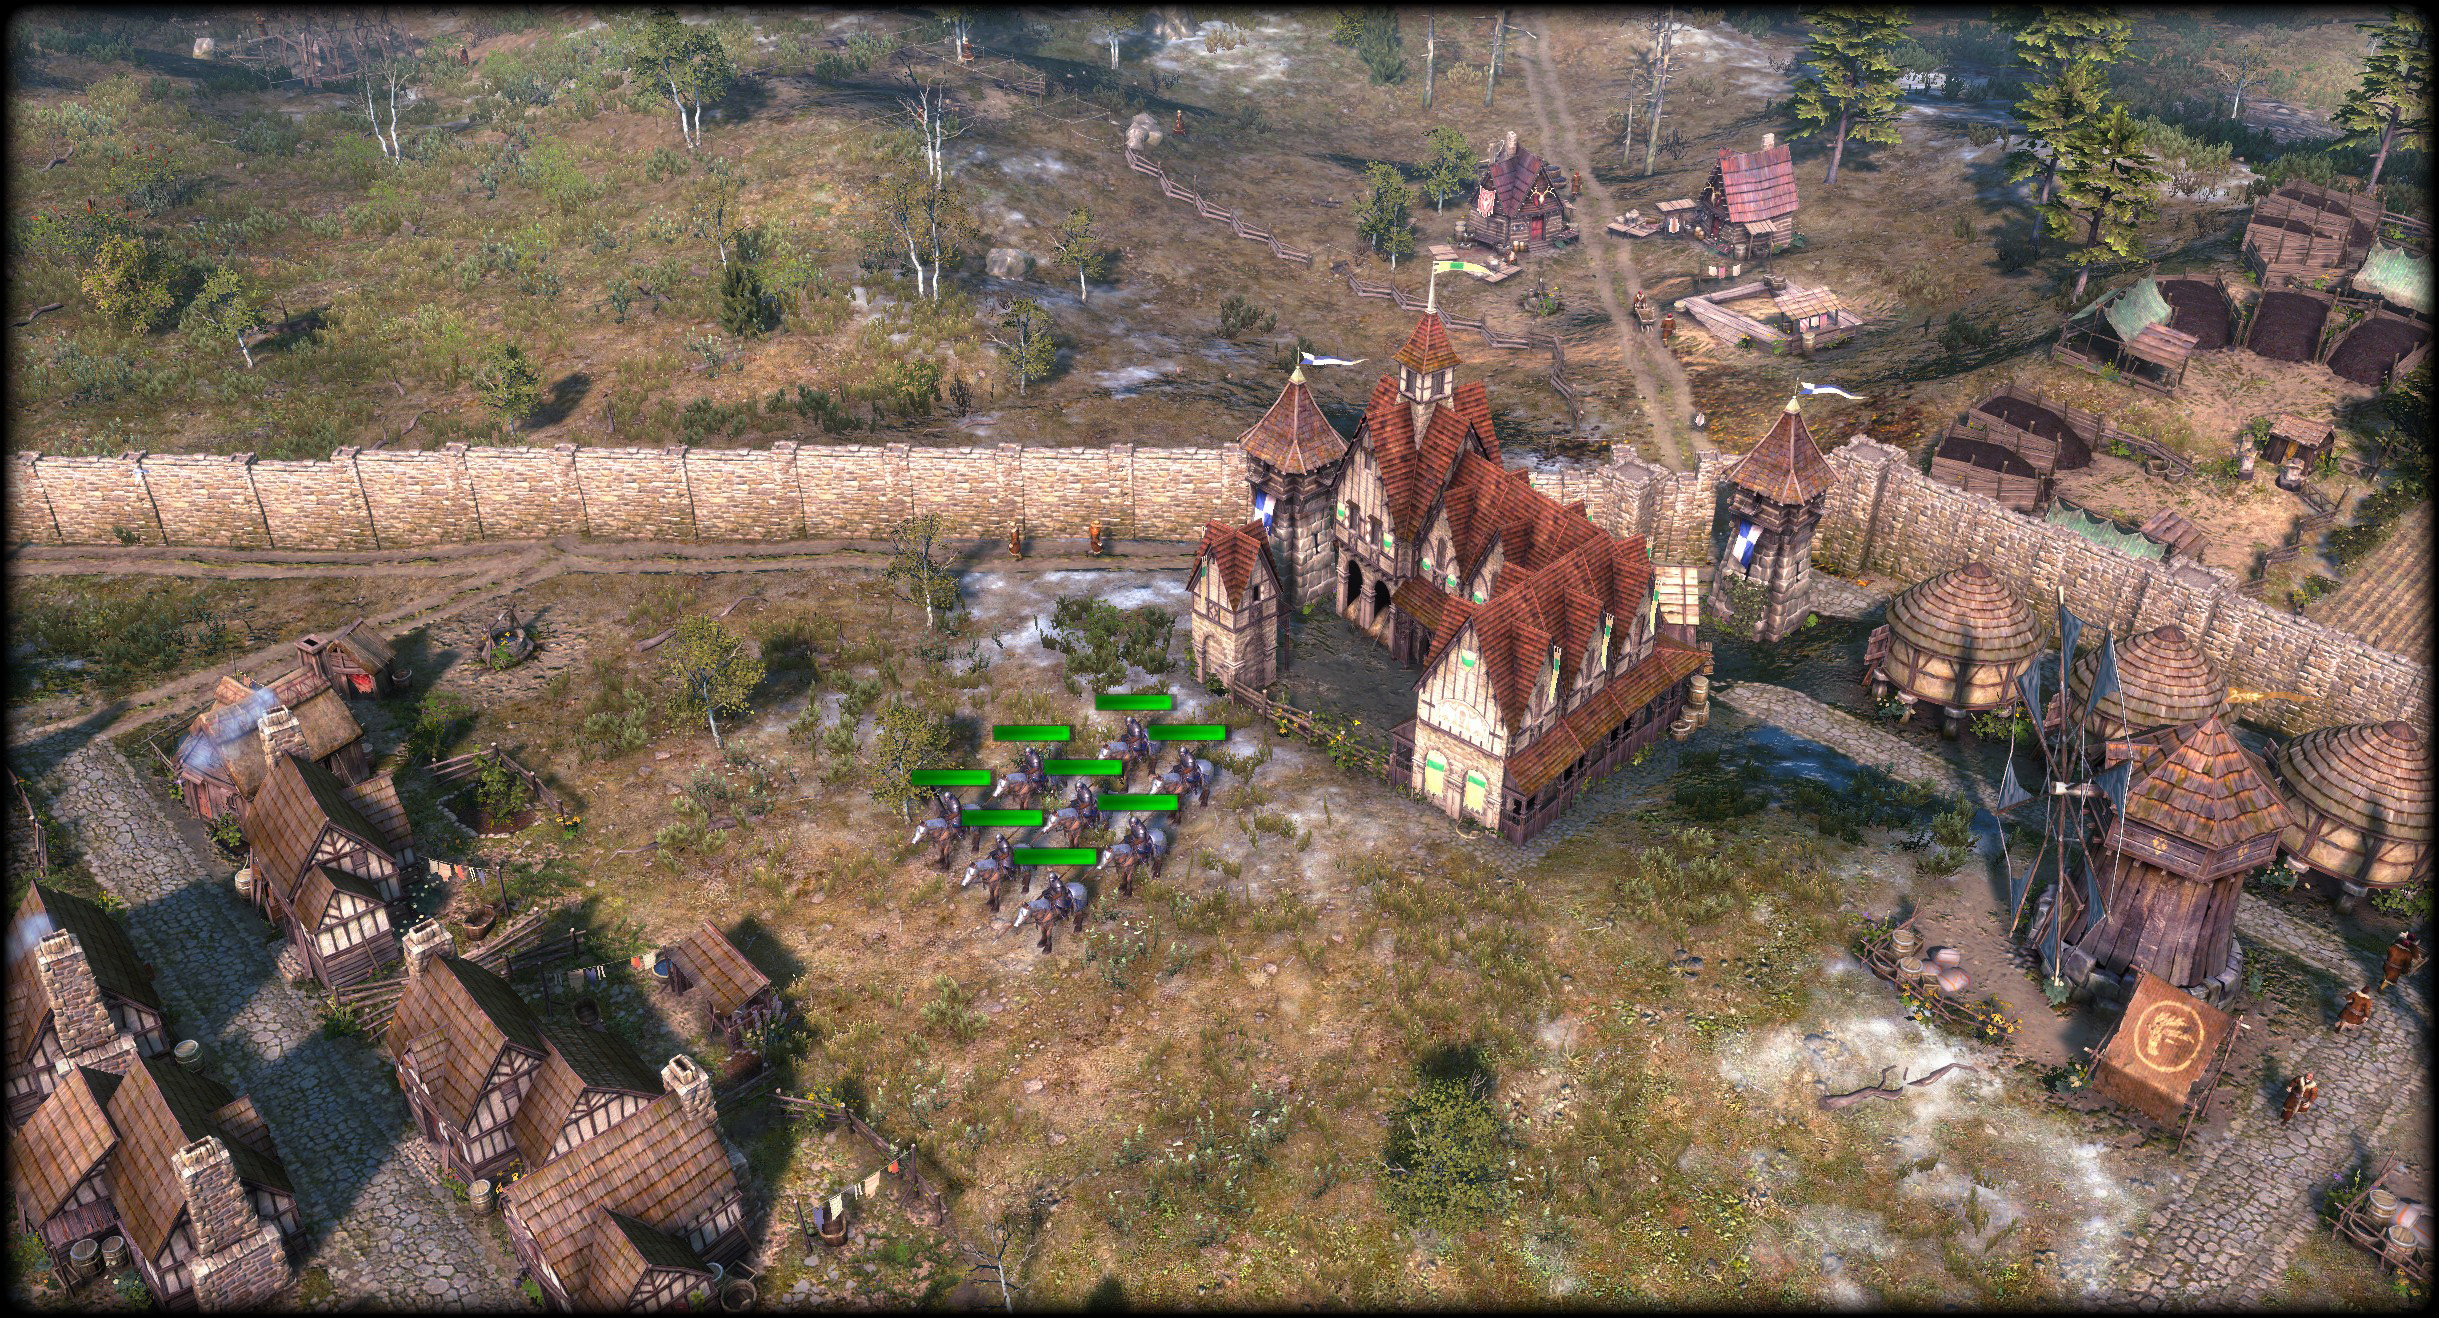
Formations
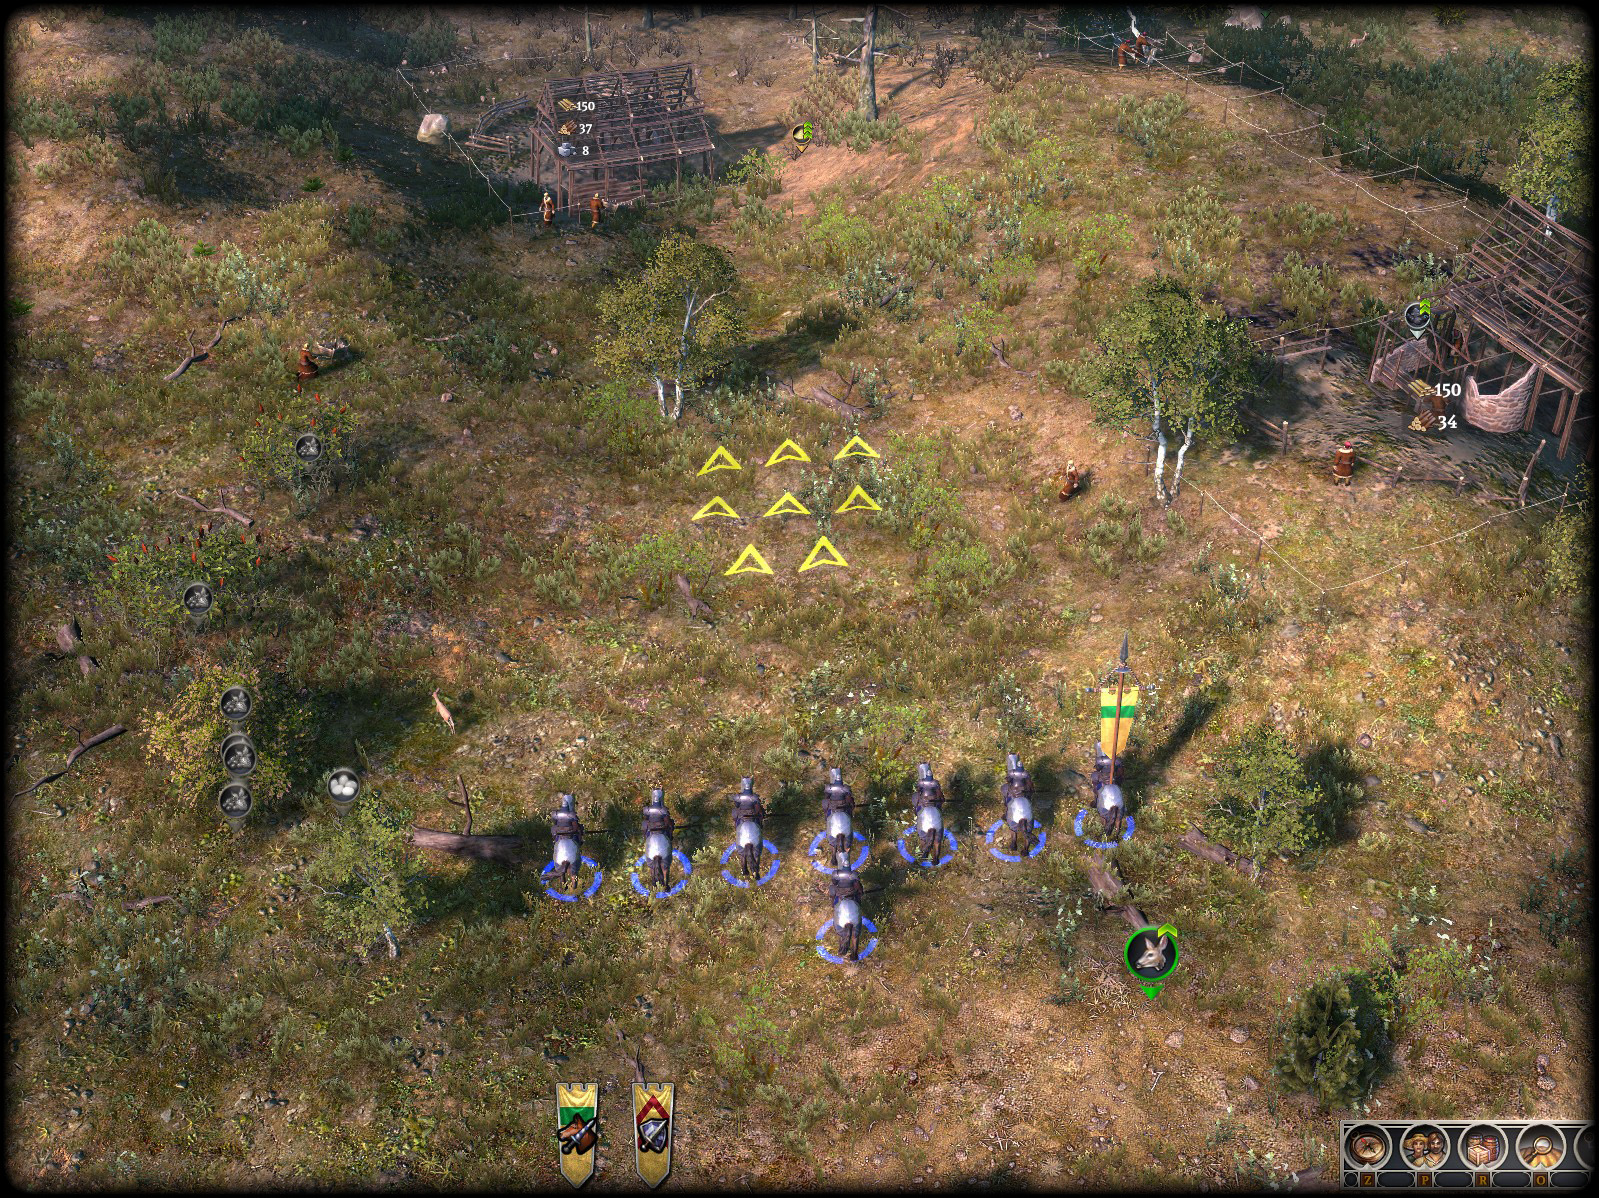
Formations are another method by which you can more finely control your military units. By default, your units will assume a formation, but you can control how far apart the units spread and how many rows and columns they line up in. By default, if you hold [Ctrl] + Right-click when issuing an order, you can adjust the formation.
Scrolling the mouse wheel controls the gap between each of the units, and moving the cursor around the screen will control the rows/columns and the facing of the formation when they arrive at their destination.
Effective use of formations will help you to cut off the enemy from reaching your fragile villagers and their homes.
Defenses
While there are numerous threats to contend with, your town is not without options for defending itself. Mighty walls can keep animals and invaders out, towers can give early warning and take care of lesser threats without any further intervention. Even the Town Center itself serves as a deterrent.
Town Center
More than just the heart of the town, the Town Center acts as a formidable defense on its own. When there is an attack, you can press the bell ![]() button to rally the villagers to seek shelter inside.
button to rally the villagers to seek shelter inside.
While there is not room for all, those that are inside will then fire arrows at nearby enemies. This can often be enough to take down lesser threats, such as wolves or a bear, but a Town Center cannot take on entire raids on its own.
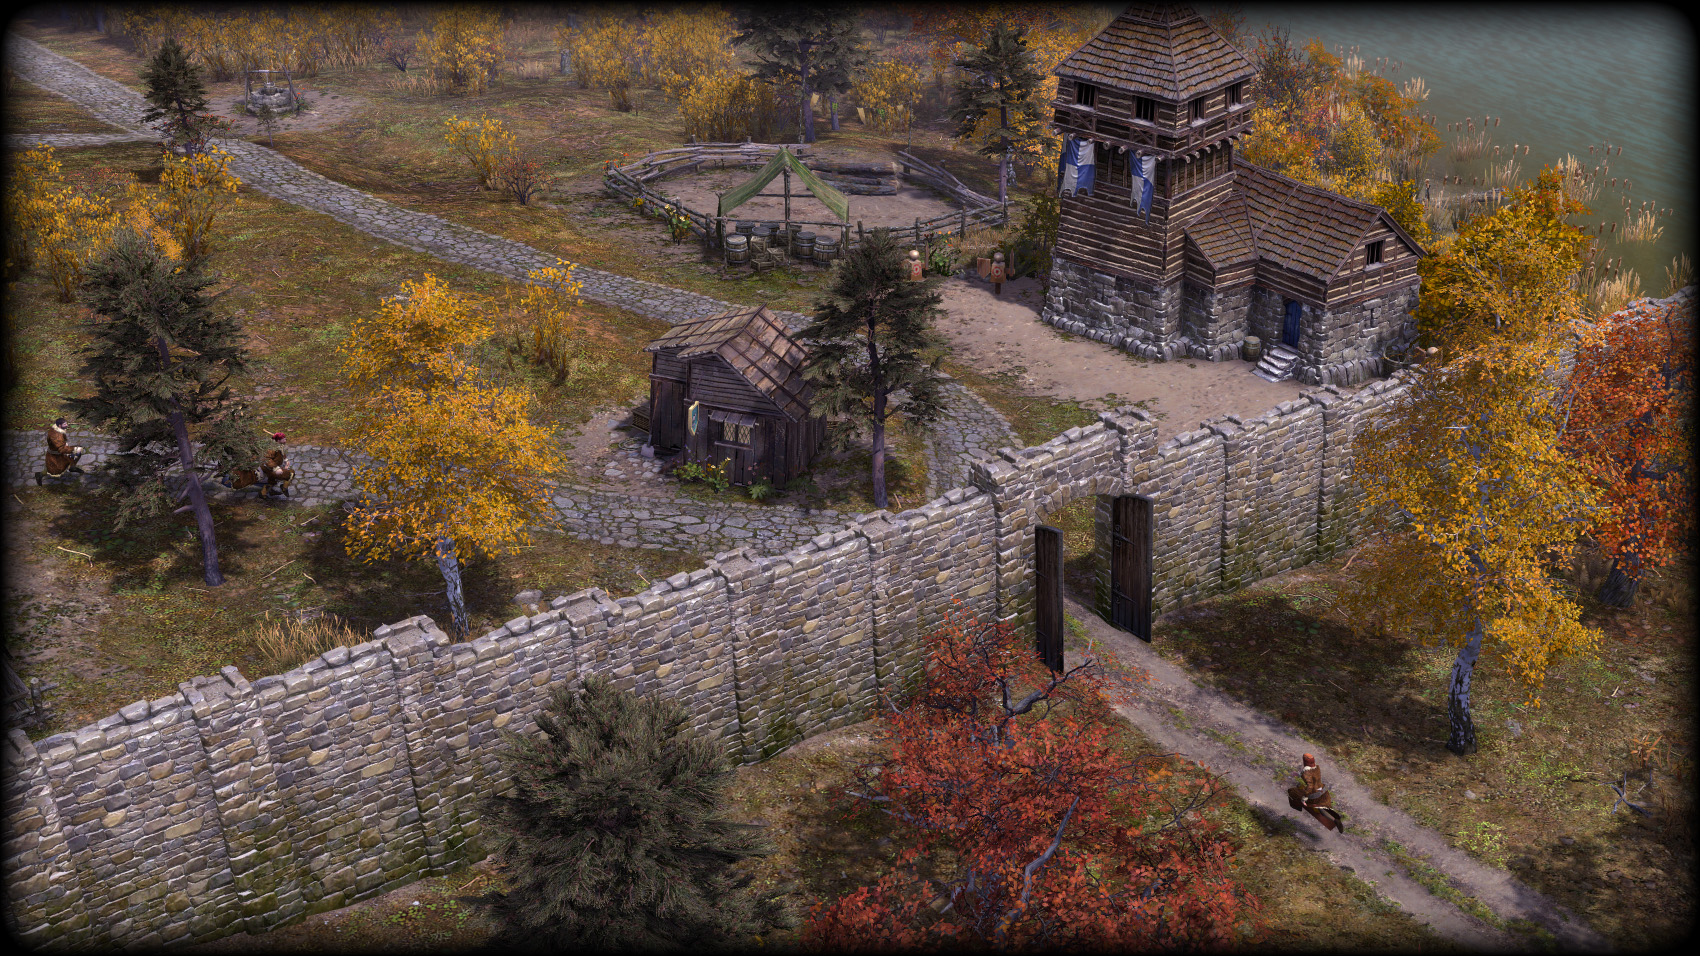
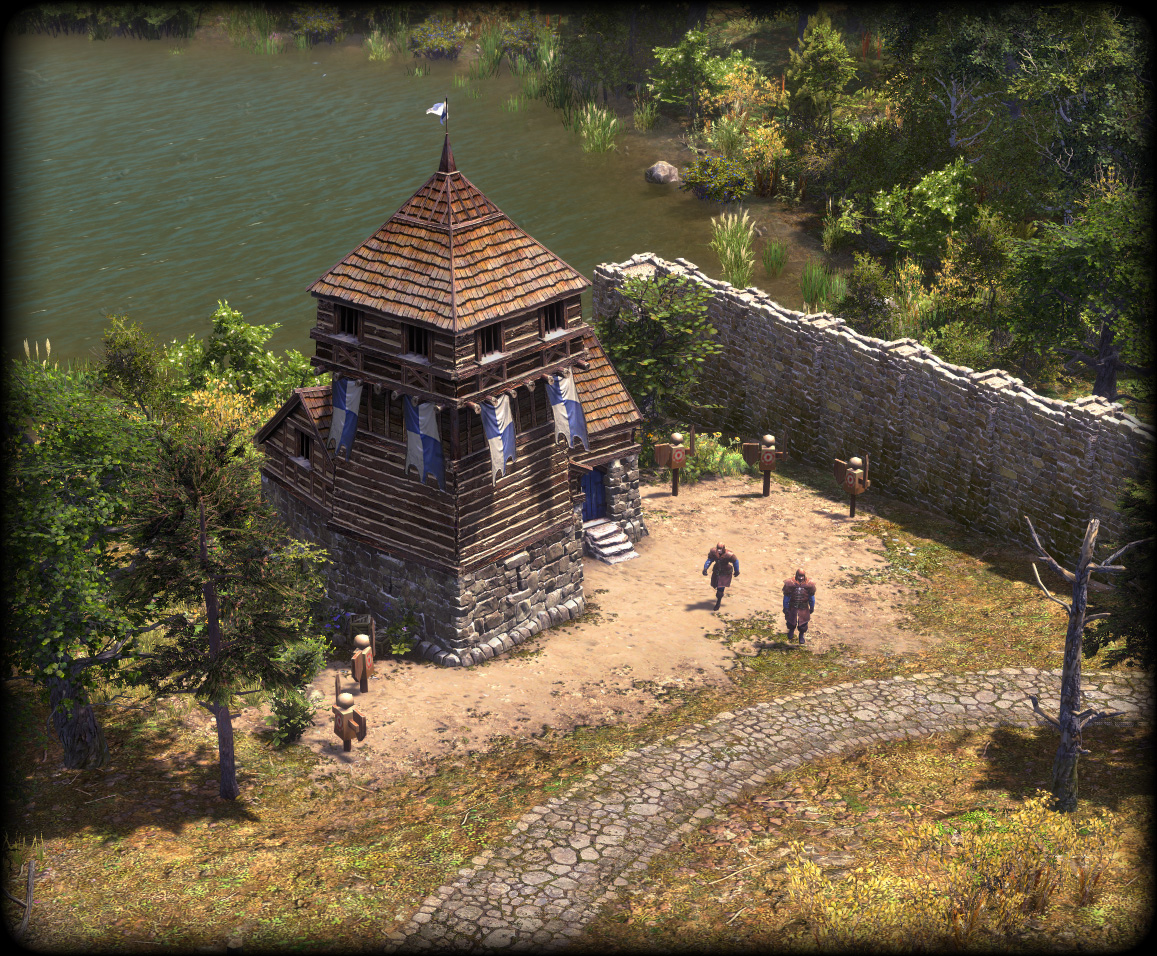
Towers
Lookout Towers are a good solution for guarding an area from threats. When constructed, up to two guards can work inside. As long as they are armed with bows and arrows, the guards will fire at any nearby threats, such as animals or raiders.
An upgraded tower has even more range and deals significantly more damage, which will prove necessary when raiders come equipped with heavy armor.
Note that a Lookout Tower has an upkeep cost whether guards are working inside it or not.
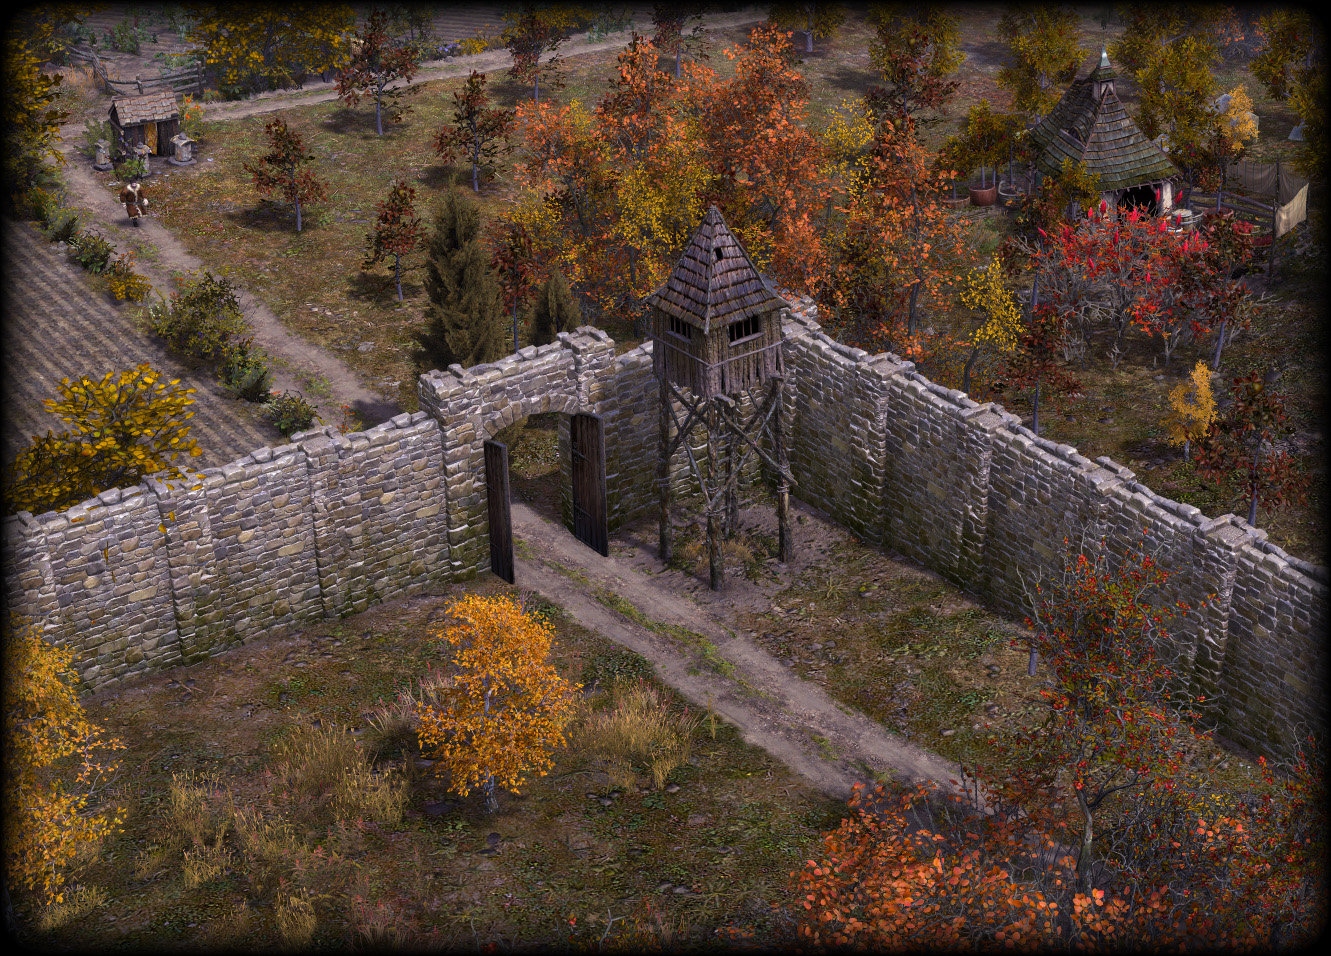
Walls and Fences
A prospering town under constant threat from raiders may eventually want to invest in walls. While they cannot stop raiders indefinitely, walls can often hold them off long enough for help to arrive, or for Lookout Towers to do their job.
Only gates allow passage through walls, so be mindful of how entrances are laid out. What was once a quick trip through a clearing may turn into a trek around a mile long wall. Gates open automatically for villagers, but raiders and wildlife cannot cross them.
Walls and gates are a significant resource investment, so completely surrounding a town with walls early on may prove too prohibitive. Palisade Walls can be upgraded to Fortified Walls, which are much more durable but require significant stone reserves.
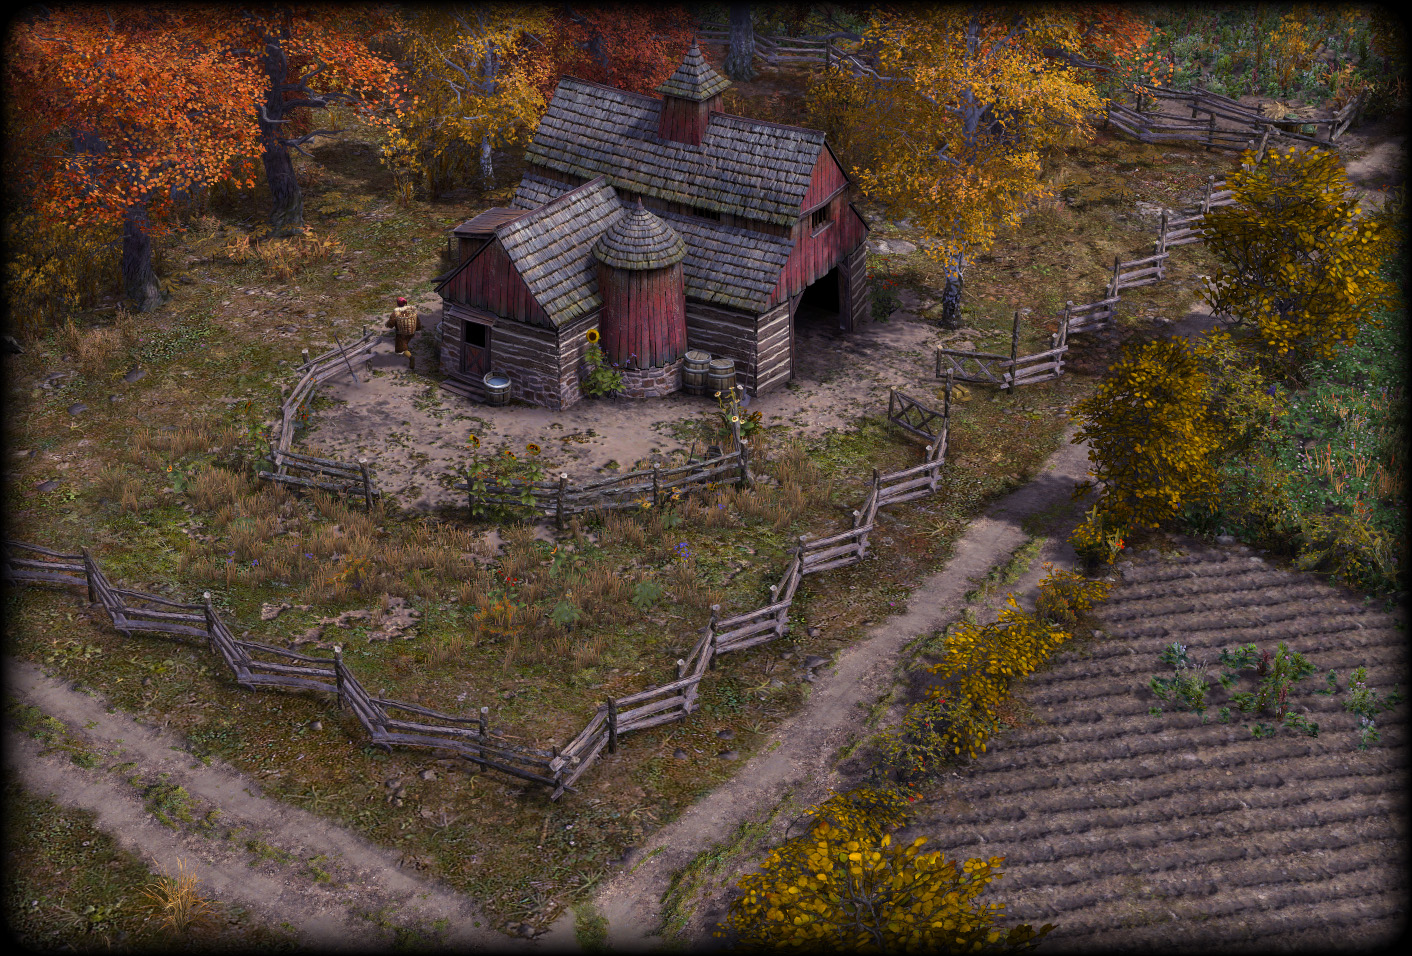
Fences are an excellent and inexpensive way to keep livestock contained and wildlife out. Cattle otherwise make easy prey for wolves and bears.
Fencing will do little to stop a raid though, as raiders can cut through the flimsy barrier with ease.
Barracks
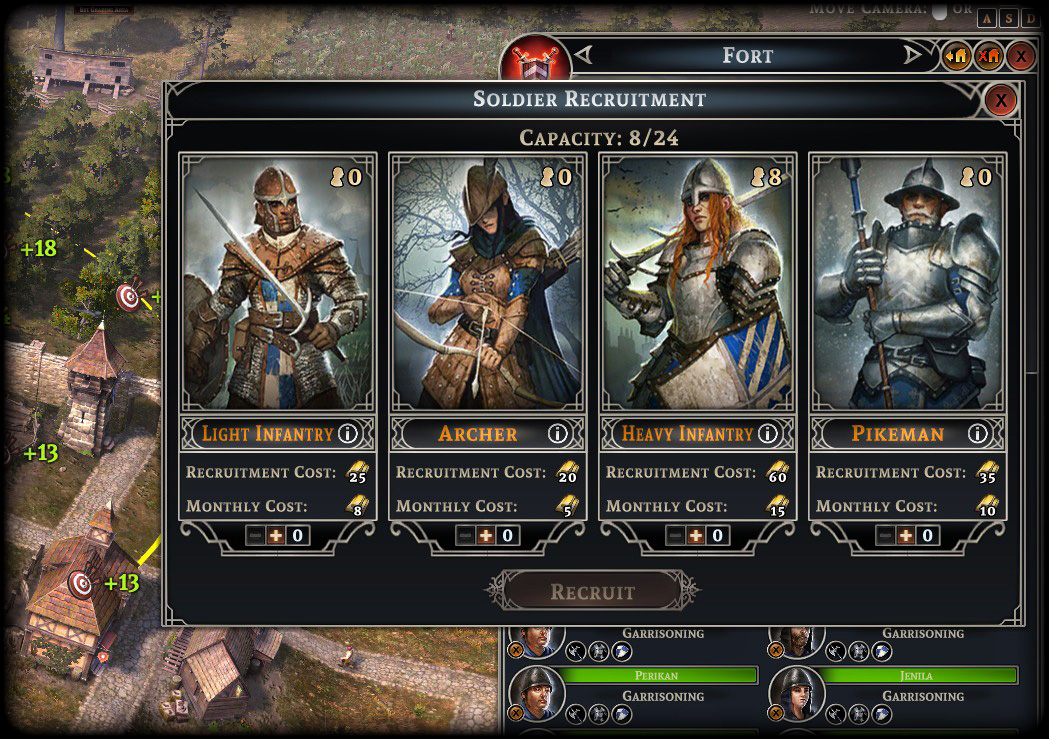
There may come a time when towers and walls are no longer enough to keep your people safe from raider invasions. A standing army, recruited from a Barracks or Stable, is the next step in your line of defense.
Once a Barracks is constructed, you can recruit villagers to become soldiers. This has an upfront gold cost, and then each soldier has an additional upkeep for training and compensation. More powerful units have a higher recruitment and upkeep cost, but they can also use stronger weapons and armor.
Soldiers garrisoned inside a Barracks will fire arrows at nearby threats, if they are armed with bows and arrows.
Their greatest strength though lies in being deployed into combat, where they will engage with threats directly.
Each Barracks has its own Company, a collection of all the military units recruited within it, which can be controlled together. You can even customize the names and banners of your companies!
Military Stable
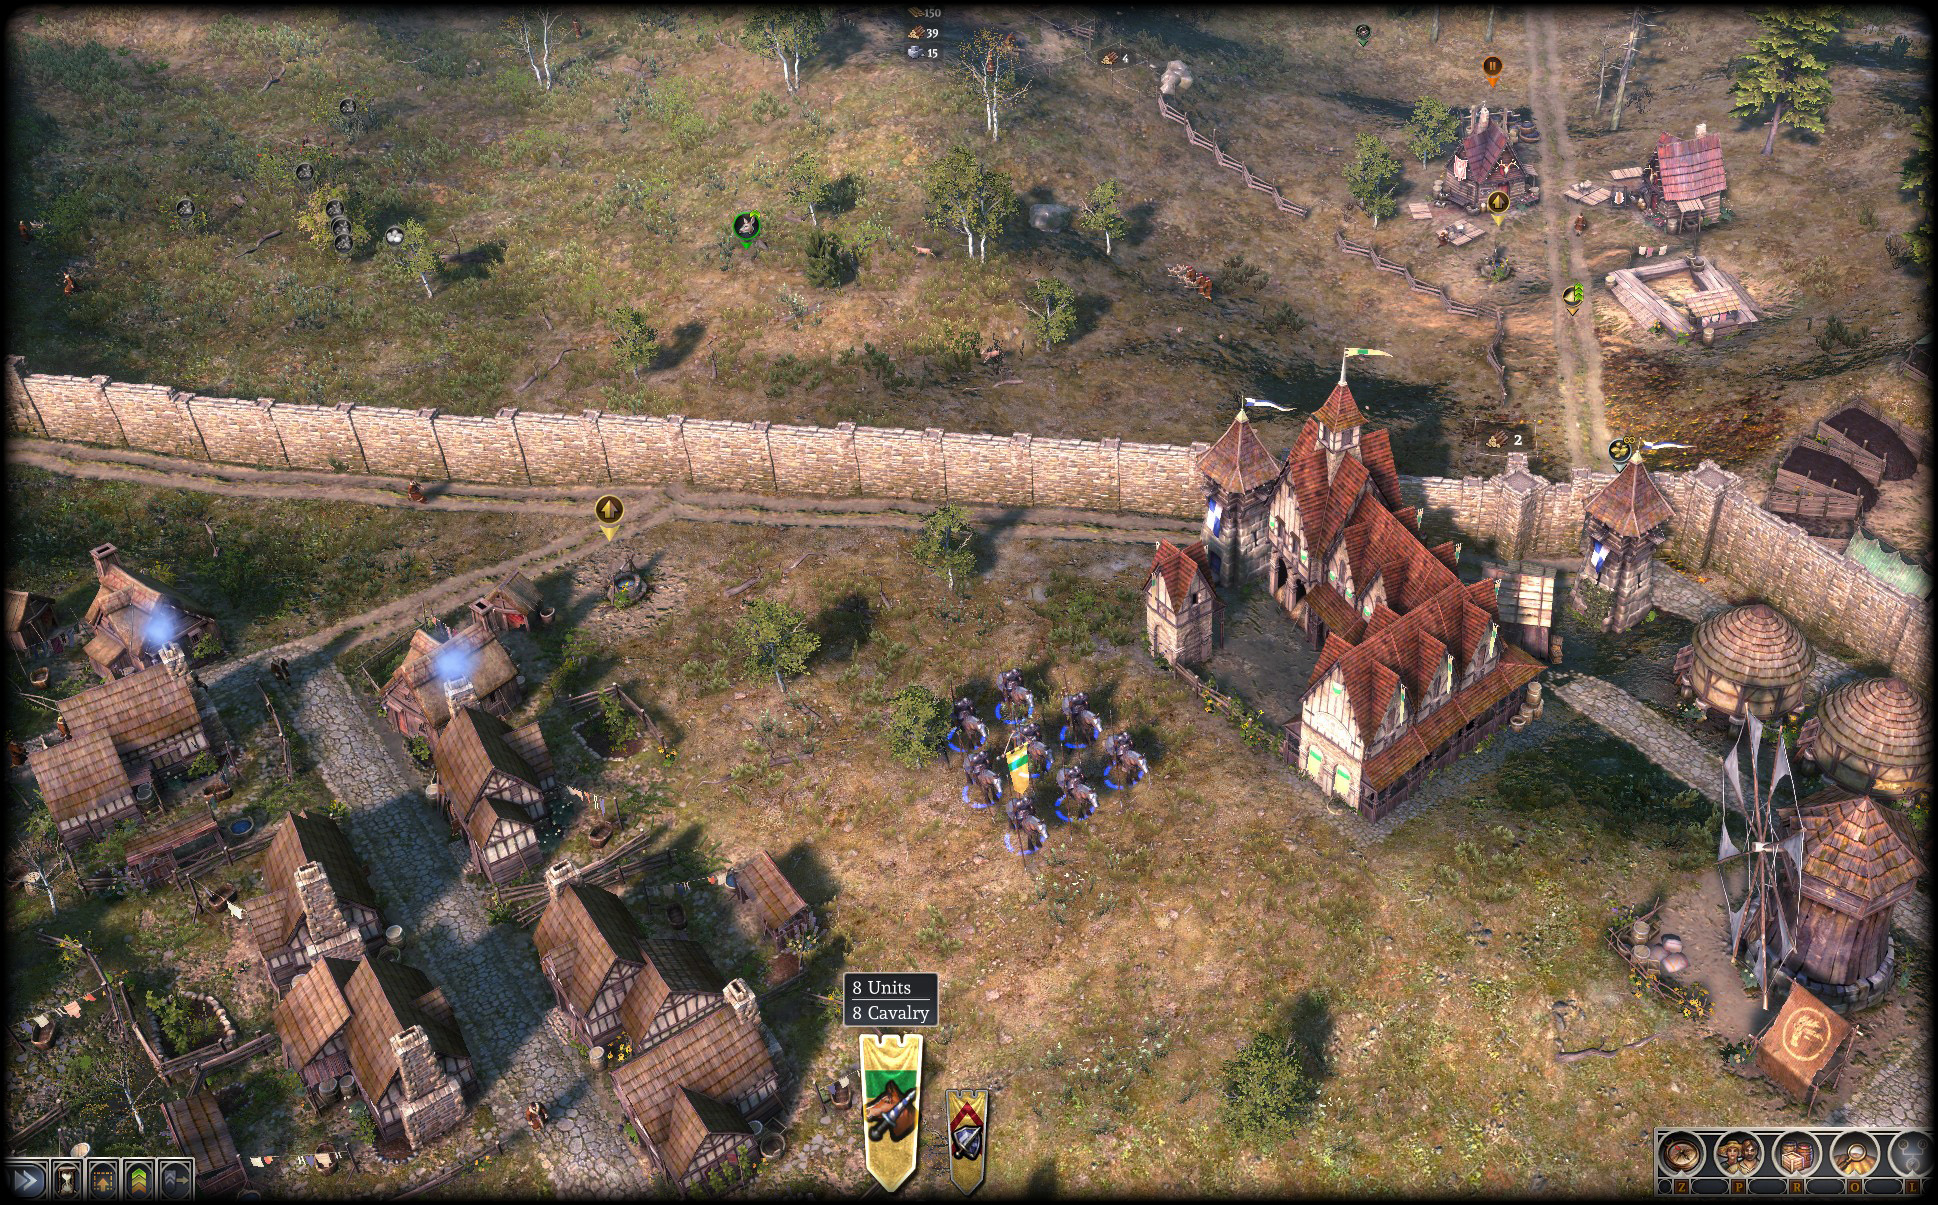
The Military Stable serves as a means to recruit powerful mobile units to defend your settlement.
You must have horses in your settlement before you can recruit mounted units. Building a Stable and purchasing horses from the Trading Post will allow you to do so.
Note that, unlike the Barracks, the Military Stable does not have a ranged attack when units are garrisoned inside it.
Rally Point
Rally Points are a powerful tool for deploying your forces from a Barracks. By pressing the Flag Combat Area ![]() button in the Barracks UI, you can quickly send all of your soldiers to defend an area.
button in the Barracks UI, you can quickly send all of your soldiers to defend an area.
They will remain there until the rally point has been moved, or they are sent back to the Barracks by selecting the rally point and issuing the command.
Each Barracks has its own rally point, so you can send your forces to different locations using this method if you have more than one Barracks.
Note that soldiers will loyally remain in the designated location even if their needs are not met, so they can and will inevitably starve if left on duty for too long.
Equipment
Soldiers are only as effective as their tools. Troops wearing only hide jackets and armed with a bow will fare poorly against armored raiders brandishing heavy maces.


Supplying your troops with better equipment will be critical to their survival as conflict escalates with the invading raiders. Where once a simple club sufficed, nothing short of heavy weapons and crossbows will fend off multiple heavily armored brutes.
Soldiers equipped with the toughest armor have the best chances of surviving a conflict and evading dangerous festering wounds that can lead to a slow and painful demise in a hospital bed.
Note that only more powerful units such as Heavy Infantry and Lancers can equip the best equipment, but that comes at the cost of higher recruitment and upkeep costs.
 Trading